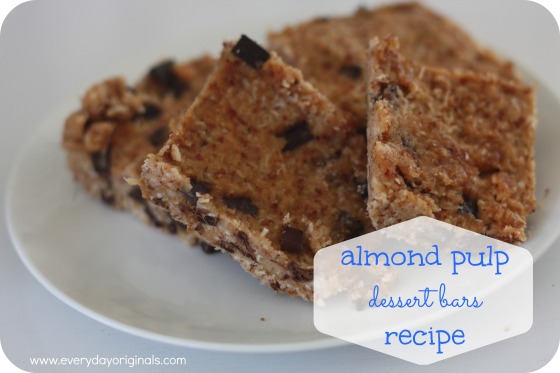
almond pulp dessert bars

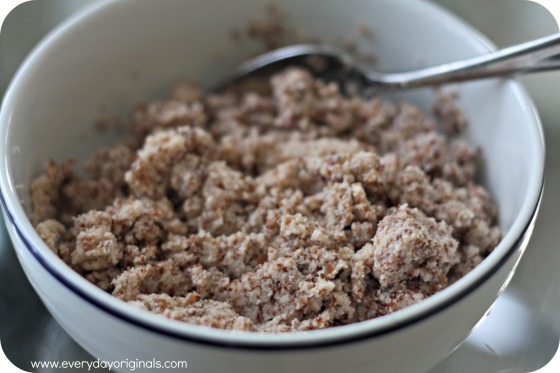
As I mentioned in my post about almond milk, I just couldn’t stand to waste the almond pulp that was left over after making the milk. I did some research on different recipes (and an awesome reader shared a recipe for crackers that I’m definitely trying next!) and finally decided on one.

bars

I was totally skeptical. We both were, since they looked like mushy mushed up mush when I was making them. Turns out they’re amazing. Like, tastes like dessert but is super healthy and amazing. I found the recipe here. They were so easy to make and I plan to make them often. We keep ours frozen because, as stated above, they are very mushy if not. And they taste more like dessert when frozen.

Ingredients

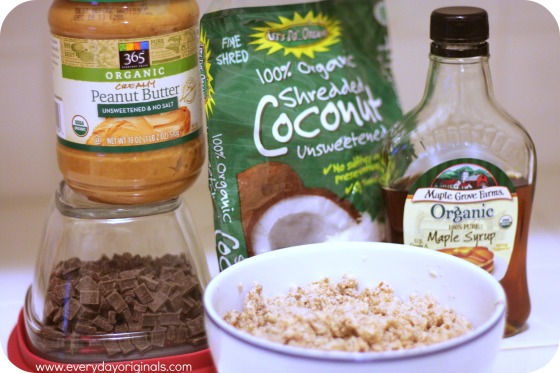
  • Leftover pulp from almond milk
  • ½ cup shredded coconut (I used unsweetened)
  • ½ cup nut butter (I used peanut butter)
  • ¼ cup sweetener (I used {real} maple syrup. You can also use honey or agave)
  • ½ cup chocolate chips (I used dark chocolate)

ingredients

Method

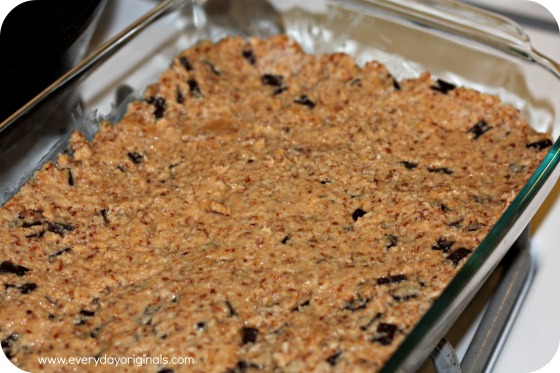
Mix all the ingredients together in a mixing bowl. Grease a casserole dish (I didn’t and really wished I did!) and pour the mixture into it. Place in the freezer until firm.

mixture

Remove and let thaw enough to cut. Once cut wrap individually in wax paper and place back in freezer. Don’t break a tooth when attempting to bite one. Let it thaw for a minute, but not too long or you’ll have the mush problem. Enjoy! They’re so delicious!

homemade almond milk

I really just stumbled upon my adventures in almond milk making. It was not planned. I had a recipe for granola bars that I was making for Al and I needed almond milk. I didn’t have it on hand, but I had almonds. So I made my own. Anything to avoid the grocery store. Almond milk is also really good for me with my stomach issues. Can be more easily tolerated than cows milk, so I figured it was a win-win.

final

Anyway, it’s so easy to make and when made at home doesn’t have any additives and has a whole lot less sugar in it.

Ingredients

  • 1 cup almonds
  • water
  • 1 tsp vanilla extract
  • maple syrup

Method

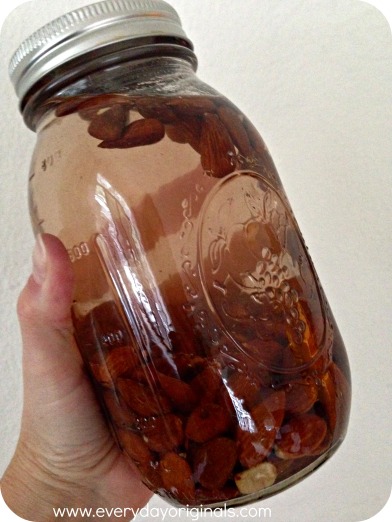
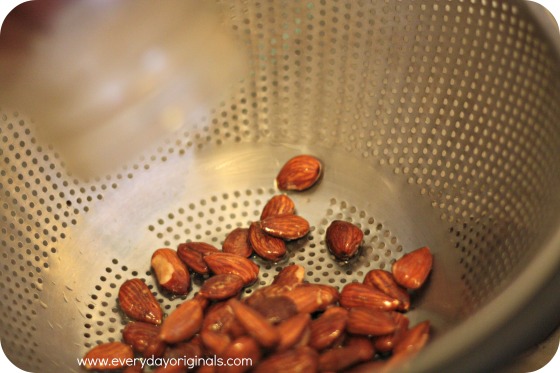
Add almonds to a quart sized mason jar or large bowl. Fill the jar to the top with water, or add 3-4 cups of water to the bowl. Cover and let soak overnight, 8-12 hours.

soak

This softens the almonds to make them easier to blend.

drain

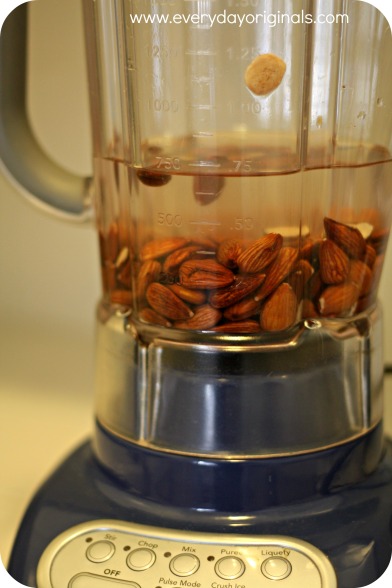
Drain and rinse almonds and add to a blender. Add two cups of water and blend until smooth.

blend

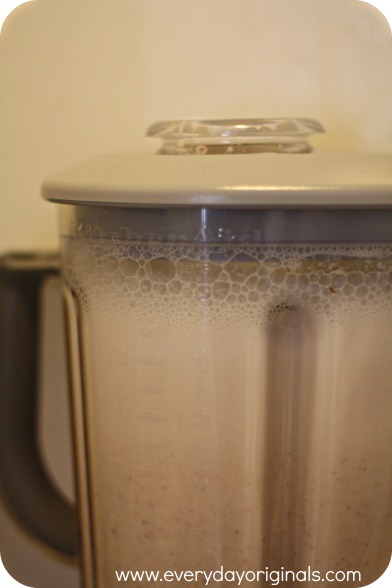
Add an additional 2-4 cups of water — I added about three because my blender couldn’t hold anymore! Add in vanilla and however much maple syrup you want. I added about a half tablespoon. Blend again for a minute or so, until all is mixed well.

blend2

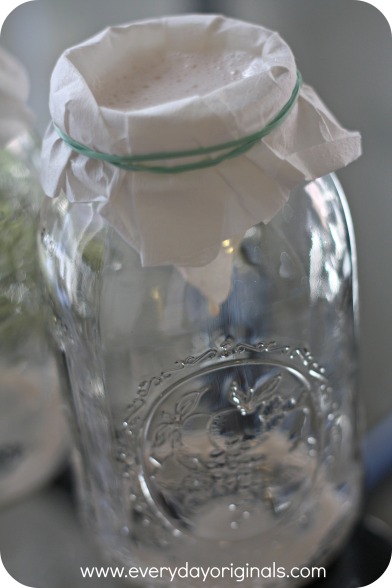
Your patience comes in here. To strain the pulp out you can either use a sieve, cheesecloth or coffee filters. I only had coffee filters so I used those.

strain

Though, I’ll be investing in a sieve. I secured the coffee filter to a mason jar with a rubber band. I would pour a little of the almond milk in and wait. A long while, for it to strain. After about 3-4 times I would have to scoop the pulp out of the filter. I only had one filter break, so not bad. And when I say patience, I mean hours of patience. Which is why I’ll be buying a sieve!

pulp

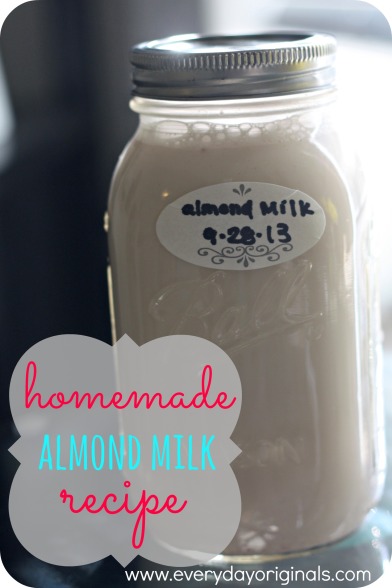
Once completely strained, cover and label with the date. The almond milk will last for about 4-5 days in the fridge.

But, you know me, and it doesn’t end there. I couldn’t stand to waste all the almond pulp, after all, it was just ground up almonds. So stay tuned for how I used that!

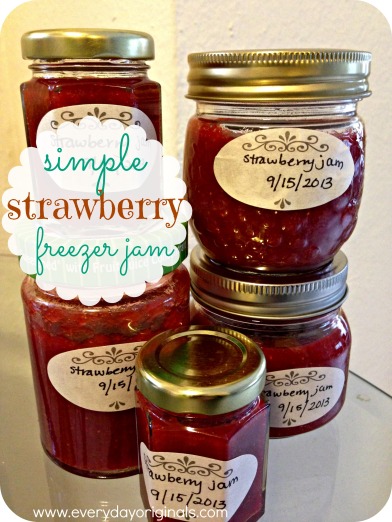
simple strawberry freezer jam

Organic strawberries were on super sale at Wholefoods about two months ago. so I stocked up and bought four pounds. Washed, diced and froze them for smoothies. But over the weekend we were out of jam and the cost of good quality jam is outrageous. So I decided to whip some up and I’m so pleased with the outcome. This was the easiest jam I’ve ever made and it made so much! I only used two pounds of strawberry for the first batch and I pureed it so I could eat it as well. If there are berry chunks it usually doesn’t sit well in my gut. It’s also pectin free. Enjoy!

final

Ingredients

  • 2.5 cups of strawberries (equivalent to about two pounds)
  • 1 cup of sugar
  • 1/4 cup of honey
  • 2.5 tbsp of fresh lemon juice (you could probably also used jar lemon juice)

blenders

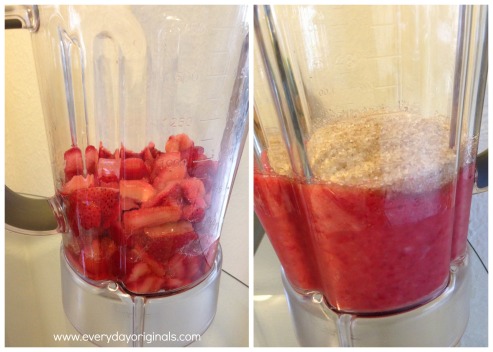
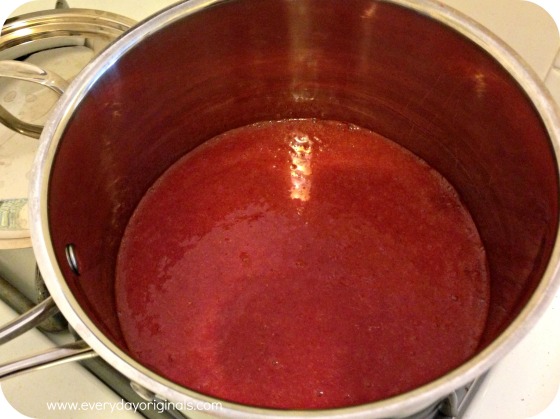
Add the strawberries, sugar and honey to a blender and puree. Pour int a saucepan and mix in lemon juice. Cook on medium-high until the mixture comes to a rolling boil. Lower the heat and continue to cook, stirring often.

puree

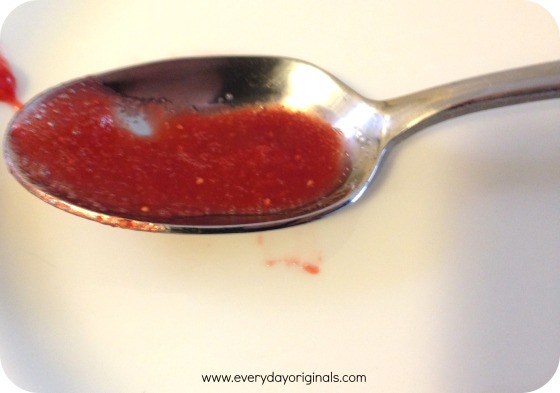
Cooking times will vary greatly. After 15 minutes if mixture seems to thicken, take a small spoonful of it and place in the refrigerator. If it turns to jam consistency turn off heat. If it doesn’t, continue cooking and checking using this method. Mine took about 18 minutes to complete.

spoon

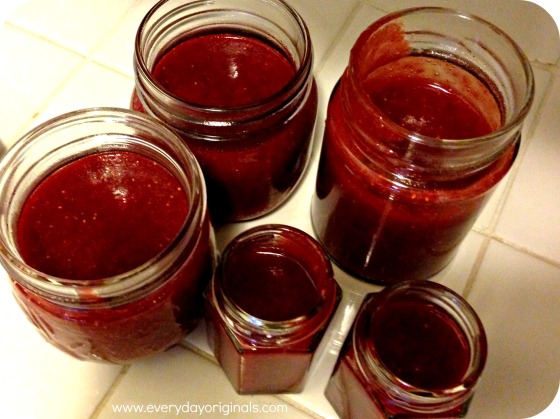
Once you’ve reached the consistency you want spoon the mixture into your clean, sterilized jars leaving 1″ head space. Wipe any that may have spilled on the edge of the jars.

jars

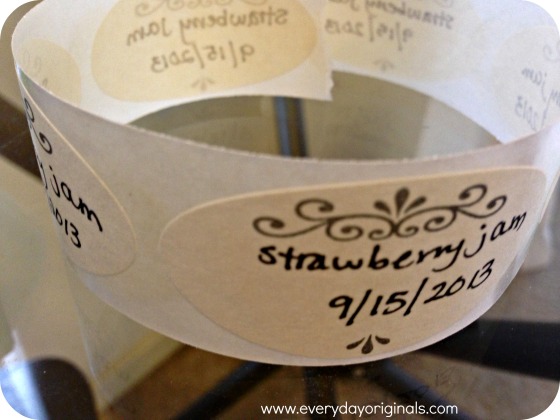
Leave jars uncovered for 10-15 minutes. Add lids, label and date each jar. Add to refrigerator for about and hour before freezing. Jam will last about 6 months frozen.

lables

I spread it on my toast this morning and it was so delicious. I love homemade jam because you can actually taste the fruit, not just all the sugar that conventional jams have in them!

frozen banana sandwich

It’s no shocker that I love dessert. I’m always searching for ways to make it healthier though and this one we really loved. It’s so easy and tasty.

Ingredients:

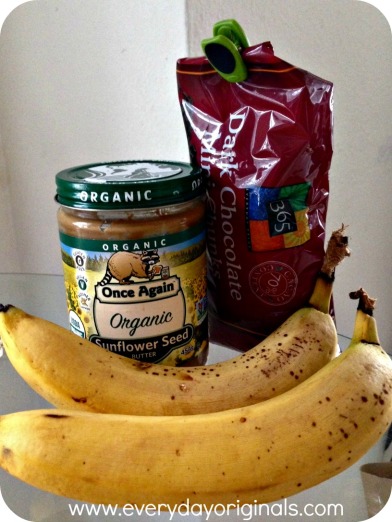
  • banana
  • nut butter: any you have on hand, I used sunflower butter
  • chocolate chips

ingredients

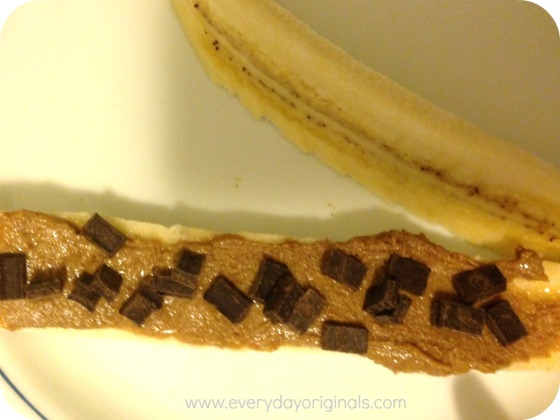
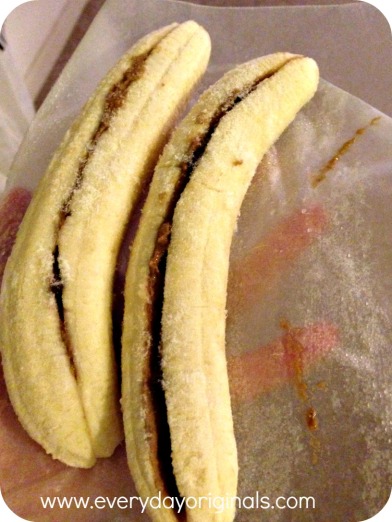
Peel the banana and slice in half the long way. Carefully spread the nut butter. If you’re not careful the banana will break apart. Sprinkle chocolate chips onto the nut butter and place the other half of the banana on top. Carefully squish the two together. Place on wax paper and freeze for at least an hour.

photo 3

One thing we realized once eating it was that we should have sliced them into little bite sized sandwiches. They would be great to grab a few and pop them in your mouth for a cold treat. Either way, no matter how you eat it, it’s delicious and healthy and cold. Which is perfect for hot summer September nights.

photo 5

Enjoy (sorry for the bad iphone photos)!

canning peaches without using a canner

Out here in CO they don’t have u-pick farms easily accessible. Normally I enjoy a nice day of picking fruit and then canning it or making jams. I had to make do this year since there’s no u-pick, which is how I ended up with 20 pounds of peaches from the farmers market. Al’s face was hilarious when I walked up to him with my massive box of peaches.

A local (and by local I mean many hours away from the city because no, there are not peach trees IN Denver) farmer was selling imperfect peaches for half the price of perfect ones. So I scored 20 pounds of peaches for $22. Which is amazing. And the truth is many of them had absolutely nothing wrong, and the ones that did were either bruised or misshapen. Nothing that was going to poison us.
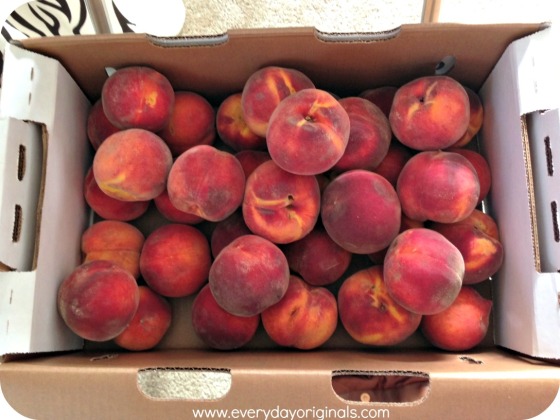
box of peaches

I don’t own a canner, but I needed to get canning right away because they were ripe and I didn’t want them to go bad.  So instead I used a huge stock pot and it actually worked out perfectly with a few small adjustments. I do own this canning kit that my sister gave me as a gift, and I will say if you plan to do a lot of canning it makes the process a whole lot easier.
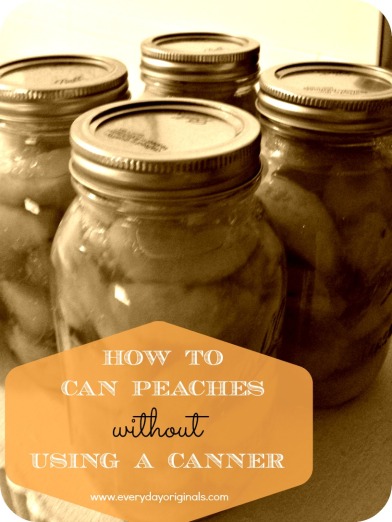
final

Here’s the process I used and I’m happy to report that it was successful. Happy canning!

1. Wash all jars and lids with hot soapy water. Once clean, submerge in the large stock pot and boil for 10 minutes to sanitize. I’ve heard you can also do this in a dishwasher on the sanitize setting. #iwish #whatdishwasher
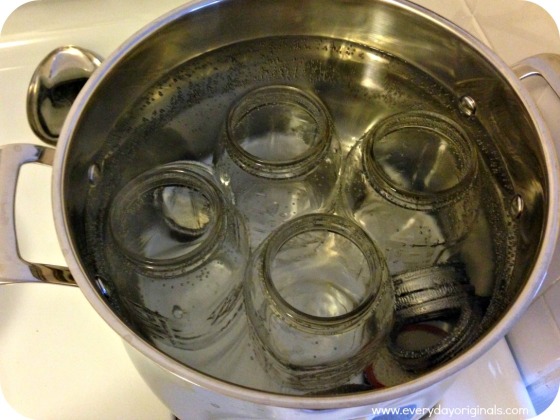
boiling jars

2. In a separate pot while those are boiling submerge the peaches in boiling water and let sit for 60 seconds. Remove with a slotted spoon and place peaches in a bowl of ice water to stop the cooking process. Once cooled remove the peaches and the skins will peel right off. It’s messy, but worth it.
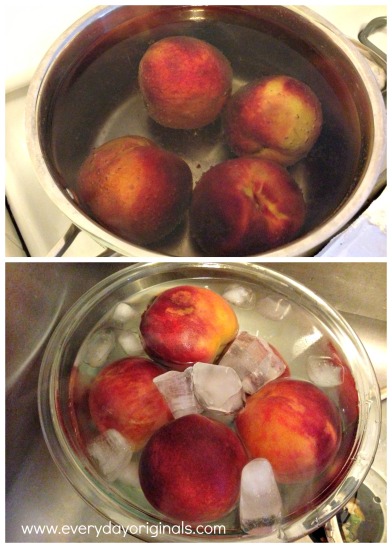
PicMonkey Collage

3. Remove the pits and dice or slice up the peaches however you like them. I slice ours. Fill each jar with the peaches. Don’t overfill the jars but do shake them a little to fill in any open spaces. Fill the jars to about 3/4″ below the top of the jar.
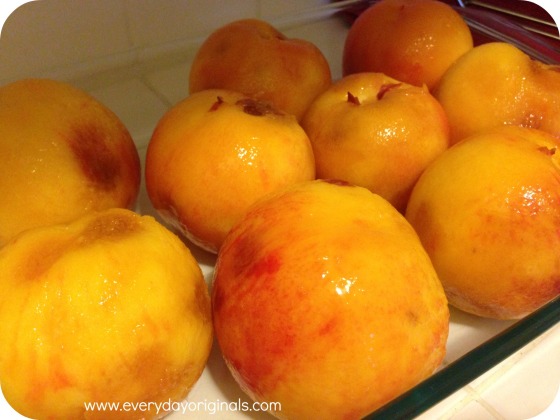
skinned peaches

4. Bring 6 cups of water to a boil in a sauce pan. Add 2-3 cups of sugar (I used 2, but we don’t love super sweet fruit) to the water and stir. Lower heat to medium and continue stirring until a syrup has formed.

5. At this point you can add 1/2 tsp. of ascorbic acid to each jar to prevent browning. You could also soak the peaches (before placing in jars) in a lemon juice mixture. I can’t speak to either method as I had neither of those on hand, but I really didn’t want brown peaches. I only had lime juice. So, well, I added that. I didn’t measure, just a big squirt into the syrup. I did taste it and it was quite delicious.

6. Pour the syrup into each jar up to the bottom of the threads. With a cloth dry off the threads to ensure there’s no moisture. Secure each lid onto the jars.

7. Fill half of the large stock pot with water. When the water reaches 180 degrees carefully add the jars. Now, this is where I had to make some changes since I didn’t have a canner. I never let the water get to a vigorous boil because I didn’t want the jars to clunk around. So instead of heating the water on high I heated it on medium, which obviously took longer. I carefully lowered each jar into the pot making sure none touched each other. Once they were in there they fit quite snugly and I continued to cook the water. Make sure the water level is 2″ above the top of the jars.

8. Continue cooking over medium heat until the water comes to a boil. Again, not a vigorous one, my boil was very soft and sweet. Continue boiling for 25 minutes for quart sized jars. If you’re at high altitudes like we are add 2 minutes for every additional 1,000 feet of altitude. I boiled ours for 33 minutes.

9. Carefully remove each jar and let cool for at least an hour until the jars reach room temperature. Once cooled, push down on the lid. If it pops back at you then it didn’t seal properly and you should refrigerate and eat those peaches. You can always try to re-process them but I just eat them if it doesn’t seal. If it doesn’t pop back at you then it has sealed correctly. You should go ahead and stand each jar on its lid to make sure no leaking occurs. Again if leaking occurs, eat them. If no leaking occurs they have been properly sealed and are safe for storing!
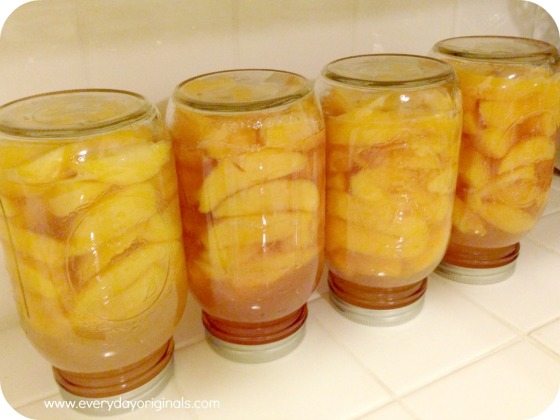
upside down peaches

10. Canned peaches will last up to 12 months; be sure to label and date each jar. Upon opening if there’s any mold or any other unidentifiable substance on the peaches, toss them.

I’ve done 4 jars already and plan to do another 8 between tonight and tomorrow. Working in such a tiny kitchen makes it challenging to do large loads at one time. I also plan to make peach jam and will share that with you guys as well. Feel free to ask me any questions. I’m no expert but I’m getting better with each time I process!

chickpea chocolate chip cookies

Since I’ve been gluten-free now for about five months I’m learning to be more creative and accepting of weird foods. My food options are so limited that I’ll take a chance at whatever I actually can eat. The hardest thing since being GF is that I can’t just bake something up for a sweet treat. There has to be thought, and planning, and grocery trips. It’s exhausting. When I saw this recipe on Be Better to Yourself I knew I had to give it a shot.

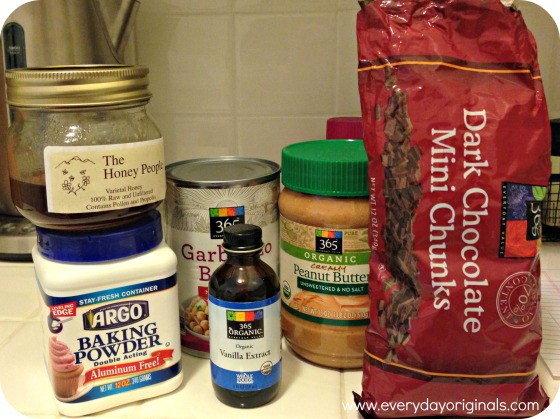
ingredients

Chickpea Chocolate Chip Cookies

1 1/2 cup chickpeas, drained, rinsed and patted dry
1/4 cup maple syrup (honey or agave syrup would do too) — I used honey
2 teaspoons vanilla extract
1 teaspoon baking powder
1/2 cup of organic peanut butter
1/4 cup of chocolate chips — I used dark chocolate chips

blender

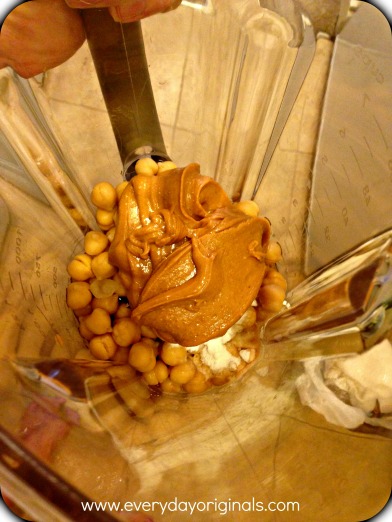
Mix all ingredients in a blender except for the chocolate chips. Blend until smooth. Stir in the chips.  Place onto cookie sheet lined with parchment paper.  Preheat oven to 350 degrees. Cook for 15 minutes.

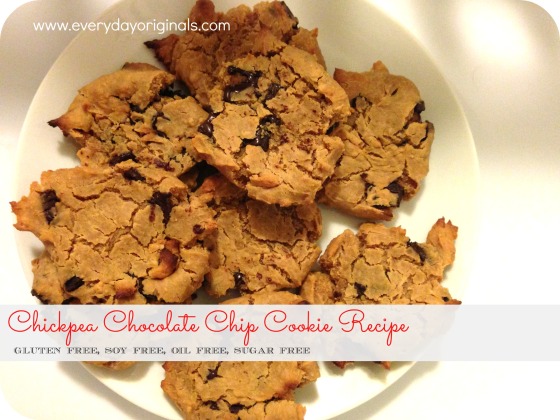
chickpea cookies

These are gluten-free, oil free, soy free, sugar-free and delicious. They don’t bake up into perfect rounds, but oh well. I was so skeptical but they were actually really good. Al loved them too, which, he’s always my food tester because my standards of “delicious” food are pretty low. I mean when you can barely eat foods you bar drops. So if he gives the thumbs up then it’s always a go. Enjoy!

easiest homemade iced coffee recipe

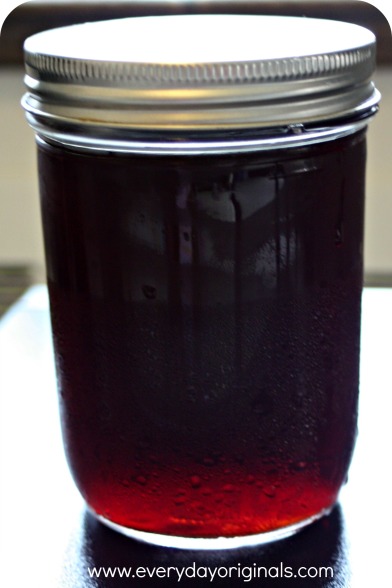
I’m no coffee drinker, but my better half is for sure. He loves ice coffee in the warm weather just as much as the next person. But, me, being the cheapest person on earth can’t stand to see outrageous amounts of money tossed away on iced coffee and iced tea. I’ve made iced tea at home forever, tea is my morning drink preference, and I figured it was about time I started making some iced coffee as well. This was the easiest process ever.

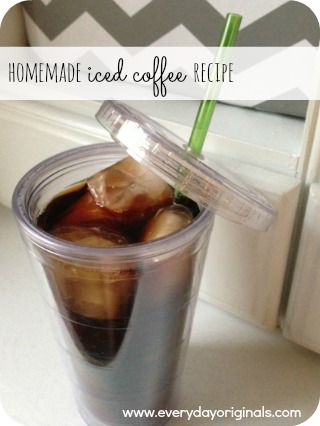
final coffee

Homemade Iced Coffee Recipe

  • 3/4 cup ground coffee
  • 3 1/2 cups water

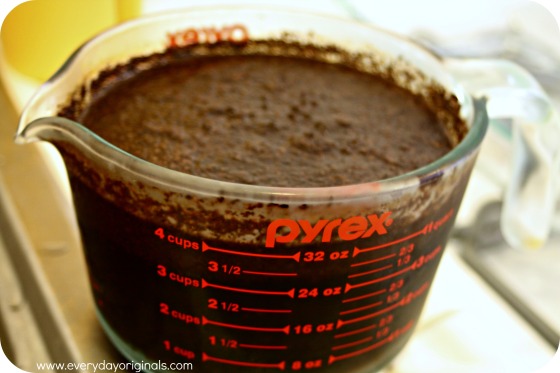
Combine coffee and water in a large container. Refrigerate and soak overnight or for 10 hours. I just let them soak overnight.

coffee soak

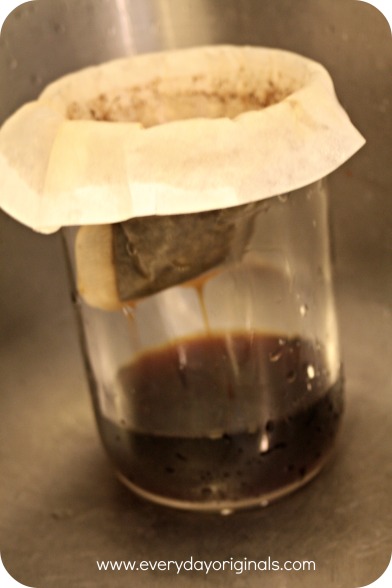
Using a fine mesh strainer or a coffee filter, strain to separate water and coffee. I don’t own a fine mesh strainer so I placed a coffee filter over a wide-mouthed jar. I secured it with a rubber band and strained that way. It did take patience because it strains slowly, but I would simply fill the filter up and go do something else, come back and re-fill, etc.

coffee filter

Once it was completely filtered I stored it in a jar and refrigerated.

coffee jar

I tasted it and it meant nothing to me, but Al said it was really good! You can multiply the recipe to make however much you want. This makes about three cups. Do you guys have an easy way of making iced coffee? This was the simplest I’ve found yet so I’m sticking with it unless I find something even simpler. Enjoy!

washing reusable bags

Reusable bags. We all use them or at least most of us use them/have them. But do you ever wash them? There have been loads of studies and research about the bacteria and grossness that is living on reusable bags. Think about it. They house raw meat, they’re thrown in a dirty grocery cart, then in your car, then maybe the floor of your kitchen. Lots of strangers touch them such as cashiers and grocery baggers. I mean it’s clear that they would be filthy.

photo 2

So, your PSA today from EO is to wash your reusable bags! I just washed mine over the weekend, I try to every few months, which in all honesty I should do so more often than that. You can google around and you’ll find loads of info on washing reusable bags. I think it’s bull. They’re bags, you don’t need to waste your time washing all the different types separately or hand washing them. Throw them in the wash with a tiny bit of detergent, wash on delicate cycle, remove and hang to dry.  Even better if you have the outdoor space to do so, hang them out in the sun. The sun is a natural disinfectant.

Other steps I take to prevent food spillage: I always put meat in a small paper bag before putting it in one of my bags. Too many instances of leaked meat, so this helps. I never put raw meats in the same bag as fresh produce. And while we’re on the topic of bagging things, I keep all cold items together in one bag, that way they keep each other cold. Do you guys wash your bags or have any specific way of loading groceries?

open faced tuna melt recipe

This is so easy to make that you could do it with your eyes closed. Don’t try that though. I whipped these up in about 10 minutes and they were so delicious. Enjoy!

This recipe makes four open sandwiches, you can always adjust to the amount you need though.

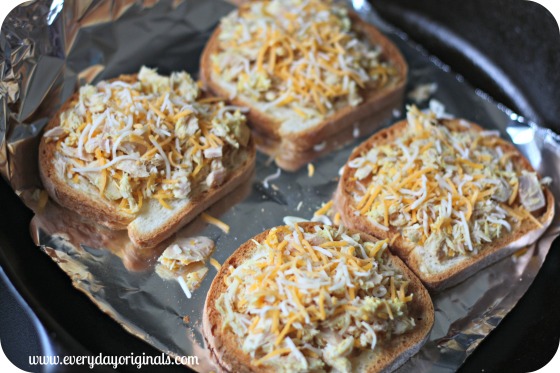
Mix 1 can of tuna with 1-2 teaspoons of yellow mustard (depending on how strong you like the mustard flavor). Place 4 slices of bread in a toaster and toast to your liking.

cheese

Line a baking sheet, or in my case a cast iron pan, with tin foil. Place each slice of toasted bread on the foil. Scoop and evenly distribute the tuna mixture onto each slice of bread. Sprinkle shredded cheese over the tuna mixture.

Turn the broiler on your oven to high and pop the pan in the oven just long enough to allow the cheese to melt. Ours took about 1-2 minutes.

finished

Results are a delicious, crunchy, quick meal! These can also be gluten-free…ours above are, I just used gluten-free bread. Another delish option for anyone else who’s following a gluten-free diet!

breakfast pizza

I eat scrambled eggs more times in a week than I care to count. It’s one food that I can actually eat,  is easy to make and it’s healthy. However since I like to do about 1 million things at once I decided to brainstorm other ways to cook eggs while still having the consistency of scrambled. Fried eggs don’t sit as well in my stomach, which is why I always scramble them. So we now make egg pizza’s for breakfast! I guess it’s similar to a frittata but I’ve never actually had a frittata so I can’t speak to that.

egg pizza2

The process is simple. Create a mixture as if you were going to make scrambled eggs. I usually do 4-5 eggs and add a half cup of milk. The milk will vary depending on the amount of eggs. Whisk it all up and pour into a greased skillet on low-medium heat. Cover with a lid and let cook for a few minutes, checking every so often. Once it starts to firm up, but is still a bit liquidy, add any toppings you’d like. Place the lid back on the skillet and continue cooking until it’s nearly all firm. Sprinkle cheese over the egg, cover and turn heat off. Let sit for one more minute or until cheese is melted. Eat!

breakfast pizza

I love this because I can add whatever toppings we have or veggies that need to be eaten. To this one we added ham and cheese, and spinach on half of it. It’s the same consistency as scrambled eggs but it’s not as high maintenance, as you can walk away and let it cook as long as you check it every so often.

egg pizza 1

Have you guys been cooking up any great breakfast meals lately? I have another to share with you too. Can you tell that I really love breakfast?!