hanging mason jar vase

This was a project that I’ve seen on Pinterest in a few different styles. I thought we had the perfect space for it and it seemed fairly easy to make so I decided to try it out. The process was easy and inexpensive. I used the following:

  • 1 sheet of scrapbook paper (may need more depending on your wood size)
  • Piece of wood (could use any scrap wood you have lying around. I didn’t have any so grabbed a scrap from Home Depot)
  • Hose clamp (bring your jar with to make sure you get the right size)
  • Mason jar
  • Mod Podge

supplies

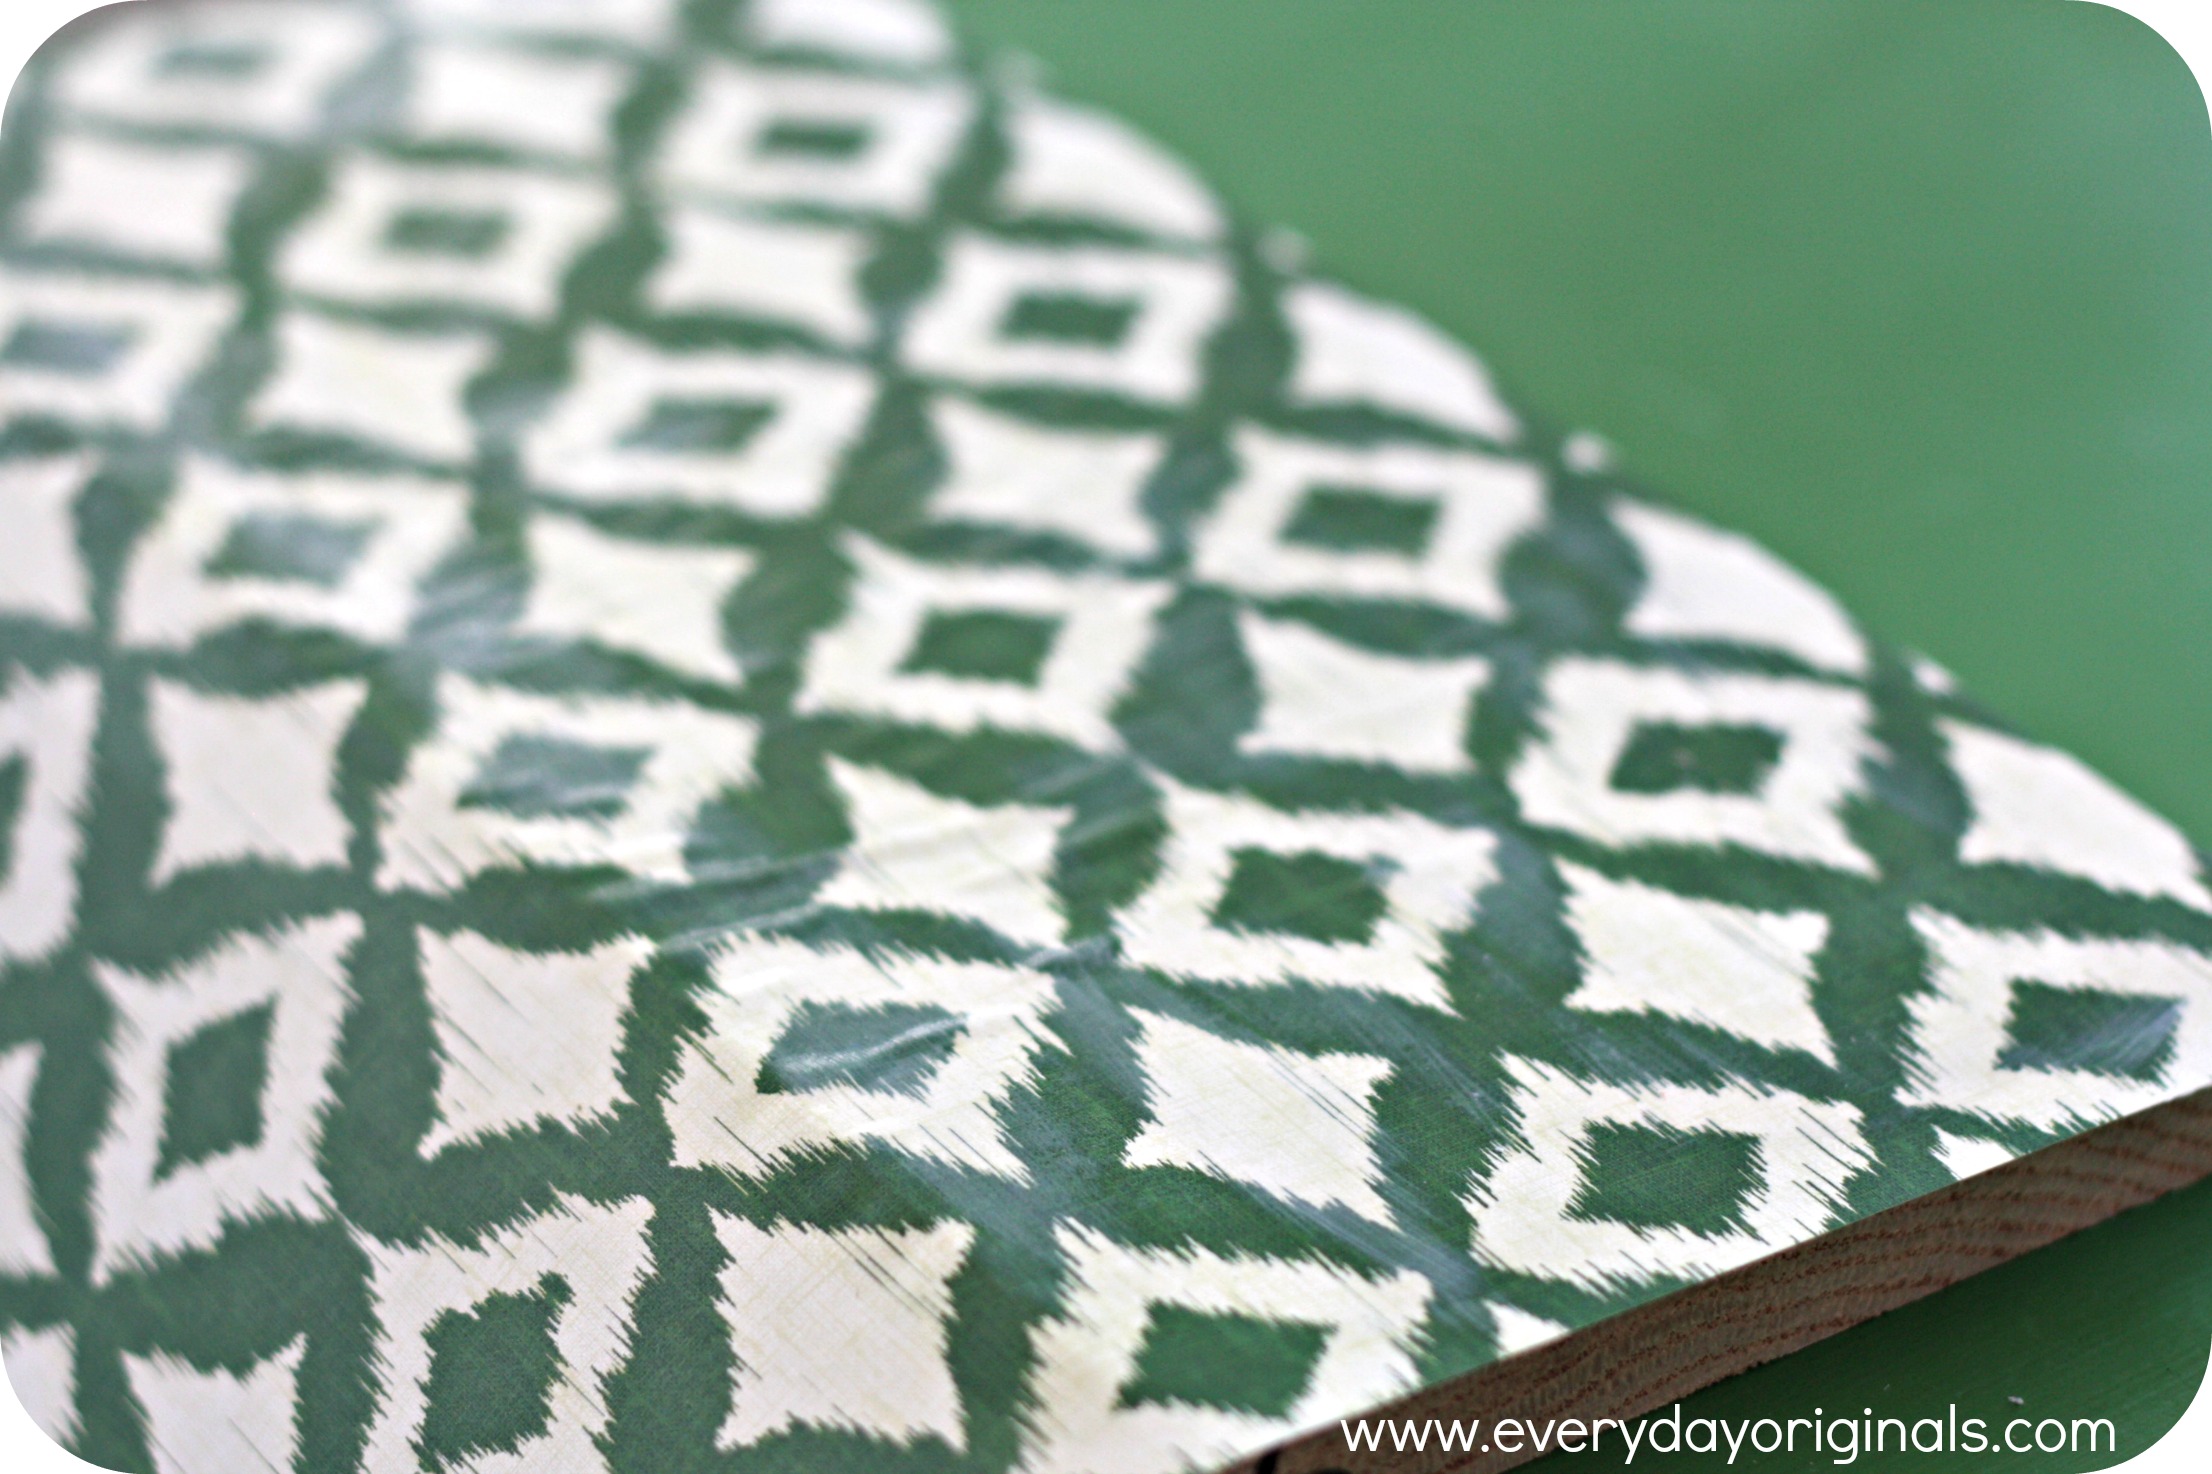
I roughed up the piece of wood by lightly sanding, then I cut the paper to fit the size of the wood. I painted a light coat of mod podge onto the wood. Carefully, I placed the sheet of paper on and smoothed it out so there were no bubbles. I then painted another very thin coat of mod podge over the paper.

bubbles

I let dry for a few hours until it wasn’t tacky to touch. I used a picture hanger to hang the hose clamp, as you can see in the photo. Once I secured that the hose clamp hung right off of it.

hook

Once it was attached I secured the Mason jar. The hose clamp is adjustable so I loosened it to insert the mason jar and then tightened it until the jar wouldn’t slip through. I tested it out by filling half full with water before hanging and adding water and flowers to ensure the jar didn’t slide out. It didn’t!

flowers

Since we have these insane walls that are near impossible to nail into I used a 3M strip to hang it. I grabbed the ones that hold up to twelve pounds, followed the instructions on the package and hung.

final

Such a simple, inexpensive, wall hanging. The total cost break down was:

  • Wood: $0.50
  • Paper: $0.29
  • Hose clamp: $2.00
  • 3M strips: $3.00
  • Mod Podge, scrap-book paper: already had

Love $6 projects! We hung it in our kitchen/dining area but I’m thinking I might make a few more with different paper and larger mason jars to hang in the living area. I also love the idea of making them with wine bottles. Hmm maybe I’ll do that instead!

paint “dipped” birdhouse

I’m loving the paint dipped look these days. It’s all over Pinterest and the blogosphere – paint dipped wooden spoons, chair legs, table legs and more. I’ve also been really drawn to birdhouses lately and I thought a cute paint dipped one would be a great addition to my desk at home.

final

I do find that the actual dipping process can be quite wasteful of paint so instead I hand painted my birdhouse to give it the same dipped look. I used paint that I already had and grabbed the birdhouse for a few bucks at Michael’s, with a coupon.

unfinished

I taped off about where I wanted my color line to meet my white line. I painted the teal color underneath the tape in three, thin coats of paint, allowing each coat to dry for at least 30 minutes. Number of coats would depend on the type and color of paint you’re using.

painted line

Once I let the final coat of teal dry for about an hour I carefully peeled off the tape. I then painted the rest of the birdhouse white. I have a pretty steady painting hand so I was able to paint along the teal line without slipping. If you don’t have as steady of a hand I would suggest painting the whole thing your base color and then adding your dipped part second.

painted

After two coats of the white paint I had a cute little birdhouse to sit on my desk! You can see on the white part that I did fewer coats of paint. I liked the look of the raw wood showing through a little. Have you guys been up to any simple, inexpensive projects lately?! This would also be a great project for kids, with the help of an adult!

armchair makeover: phase 1

I’ve already shared a few times about these amazing chairs Al happened to find in our back alleyway one night when he was taking out the trash. Despite their age they were in phenomenal condition.

I’ve gone back and forth a million times on how to make them over and finally settled on a dark base color with blue and green fabric. Thing is I would have loved to paint them white, since let’s be honest I love all things white. But with the walls and carpet in our apartment a very white/neutral color I know the chairs would seem lost if they were white too.

chairs

So we went dark! Today I’m sharing phase one of the chairs. I love chair makeovers, that’s also no surprise since I’ve done them here, here, here, here and here. They’re just so easy and inexpensive and I always feel so accomplished when they’re complete.

I started by taking the chair apart. I unscrewed the seat bottom, there were three screws on each seat. The seat backs were trickier.

tacks

They had loads of tacks and underneath every tack was a nail, that was half nailed into the wood and then half bent.

nails

Using a flat head screw driver and pliers I removed all of the tacks and nails. Once I had the seat back off there were loads of old staples in the wood.

chair

Using the pliers I removed all of those as well. I then removed the fabric from the seat back using the same pliers and screw driver.

layers

There were many layers of old fabric on them but I only removed the latest one. Once removed, I traced the seat bottom and back on my new fabric so I had my pieces all ready to secure.

PicMonkey Collage

This part of the process definitely took me the longest and my arms certainly got a workout pulling all those nails and staples out. Though, once this part was complete the rest was pretty easy. Stay tuned!

diy faux drawers

We bought some of these storage boxes at Ikea for a bargain price in the As Is section. We got the two pack for $3.99. After they fit perfectly in the intended space we purchased another pack at the full price of $9.99. But still, $3.50 per box is a great price for large, sturdy storage boxes! When stacked on top of each other though, I felt they looked a little boring; so I decided to create what looks like a drawer that separates them. This was probably one of the easiest projects I’ve ever done.

fake drawer 1

I used two priority mail boxes that I had. Yes, I felt guilty since the post office is hurting, but I had the boxes and never used them (I think what I was planning to ship in them didn’t fit) so instead of recycle them I re-purposed them. I know I could have brought them back to the post office but I didn’t. Okay, confession made, moving on.

fake drawer

I started by slicing a hole in the cardboard in the spot I planned on adding the knob to. I then used fabric I already had, as well as drawer pulls that were in my stash. It was as simple as wrapping the boxes in the fabric, just like you would wrap a present. However, when I wrapped the box I left the far end unwrapped so that I could add the knob. Using scissors I slit a small hole through the fabric in the same spot where I made the hole in the cardboard. I secured the drawer pull onto the box and then continued wrapping the back-end of the box.

fake drawers 2

That was it, done! I placed the fake drawer between the two storage boxes and I love the way it looks. It adds a little dimension, a nice subtle pattern and makes the whole space look a tad more visually appealing. The fabric is even the perfect coloring to go with the storage boxes I made for free. Now, I totally get that they don’t actually look like a drawer, but I like the idea of it and the way they come out.

Nothing like completing a great, simple, free project! Next up is getting control over those wires and cords. For the love isn’t it time everything be wireless now?

simple drawer lining

I know I haven’t shared our full desk with you guys yet, that’s to come, but I wanted to show you how simple it is to line a draw and how much of a difference it makes. Our friend custom-made this desk for us and it has this huge, awesome, drawer that he even added dividers to. The wood on the bottom of the drawer was just raw wood (we didn’t bother to paint IN the drawer as you can tell by the raw dividers).

raw drawers

I had leftover contact paper from this project – and you just wait, it shows up again in another project down the line (can’t. ever. waste.) – so I used it to line the drawers. I simply measured, cut and stuck them in the drawers. The original two rolls of contact paper cost me $5.99 and I’ve certainly used all if it so I’d say it was a good purchase.

final

Now I’ll admit, I’m not usually one to bother painting or lining drawers, but we open and close this one a million times a day and it lives in our living room so I like the added touch to it. That’s it, 5 minutes and I was done!

close up

Do you guys line drawers? I guess it really depends on the use for me. I did line these drawers way back when…

new chairs!

I mentioned a few weeks ago in my high-five for Friday post that we had scored a few chairs that were sitting next to the dumpster behind our building  They’re really in perfect condition and I will never understand why people just throw things away. Donate, people! Keep perfectly good things out of landfills!

Anyway, the chairs.

I love everything about them. The shape and lines, the oval backs, the wide arms. But I can’t decide how to make them over. Help!

chairs

Should I paint them white, black or ORB like my last chair makeover? Or maybe a fun, bright color? Or re-stain them? What about fabric? Plain? Geometric? Stripes?

447fb98803642692c4b9d7a202ce9152
source
cd27bf73d441e4d5e1813fc727a7a65c
source
f2bdf688cc2a686d61cea88298479870
source
8596ee76380c2b38f0693b5bacadd65a
source
15eaf104e59d0799dd7bb2352a2600bc
source
d6a2591ebecf8cfbfa6ca028c30079f3
source

So…what do you guys think? How should I makeover these chairs? I’m open to any and all suggestions because I really can’t make a decision on them. Send me pictures, tag me in pins. Any inspiration is great! I’m hoping to get started on these this weekend and I can’t wait…as soon as I know what I’m doing to them!

diy custom name art with photographs

Name art are all the rage right now and really I don’t mind it. I think they’re cute, artistic, abstract and can be really cool depending on the chosen art. You know what I’m talking about, right? The artwork you can buy that spells out a name in photographs of found letters in everyday life.

Well my sister and her husband wanted to use exactly that as their guest book at their wedding. I know, I’m still talking about their wedding nearly eight months later. But I love them and I loved their wedding and I loved being able to help plan it. They put me on the job and I’d have to say that I think their name came out pretty good.

I want to share with you guys how easy it is to create this on your own instead of paying top dollar to buy it. For months and months before hand I was sure to bring my camera with me on outings just in case I ran into “letters.” You find them in strange places! Once I had all the photos I created a word document. Yes, no special software or program, a simple word document. I edited each photograph first using iPhoto on my Mac, but another option is the free photo editing site PicMonkey. Once I cropped and edited the colors to make sure all the blacks, whites and grays were alike I think simply opened my word doc, set the page to the size we wanted the final print to be and dragged in each letter.

word doucette art

I put each letter into the doc and then sized each one to be the exact same and lined them up in order. Using the options in Word I created a border around all the letters. Then using a text box I added their names and wedding date.  If you place the text box over the border lines it’ll cover the line and make it disappear. Adjust the text box to whatever size you want.

Done! It was complete, very simple. We had it printed at Staples on one of their fancy printers in the size of our choice. I think it cost us around $15. So between that and the frame it was a whole lot cheaper than custom ordering the same thing.

doucette art final

We framed it up and they used it as their guest book at the wedding and had everyone sign it and write notes around it. This is totally where my mom would be all like “Wait, Lindsey you spelled it wrong.” And I would flip a lid and she’d be all, “Just kidding!” Yeah, she still does that and it still gets me every time.

I’m bummed that I don’t have a photo of the final result, with all the notes around it, but it looked really cool and it was a great alternative to a guest book. Something you can actually hang and read every time you walk by it hanging in your house.

Did you guys do anything other than a traditional guest book at your own wedding?

P.S. I didn’t do a great job of showing how I made this because I did it so long ago and didn’t take screenshots. However, if it’s something you’re interested in please feel free to reach out to me and I’m happy to work with you to help create a similar project!

simple, inexpensive, diy curtain rods

Curtain rods can be absurdly expensive. Especially when you need 8 foot long ones. They have to be sturdy and durable otherwise they bow in the middle and don’t solidly hang up the curtains.

We have two huge windows in our living room, each about 8 feet wide, and the price of curtain rods that size was literally hurting me. So naturally, we made some. To do this we used the following supplies, with costs included:

  • – L shaped brackets – $3 for a 4 pack
  • – 1/2″ one hole straps – $1.50 for a 4 pack
  • – nuts and bolts – $1.50
  • – 1/2″ electrical conduit – $3 each for a 10 foot piece

materials

To cut the conduit to size you’ll need a hacksaw. They’re inexpensive to buy but Al found that there’s a set up in the crown molding section that he was able to use. So we saved money but cutting them in Home Depot instead of buying a saw. He cut them to size and with our supplies we headed home.

They were so easy to make. We simply used the nuts and bolts to secure the one hole straps with the L brackets. Once those were all together we were ready to hang.

bracket

To make sure all the brackets were hung at the same height I cut the corner of a sheet of paper out. Each time Al hung one he held the paper to the corner of the window and knew exactly where to secure the bracket.

hanging brackets

Once they were secured, which I’ll digress for a minute – Below is the picture of casualties from this project. Whatever material the external walls are made of in this building do not allow for things to be hung. Everything bounces back, breaks, bends and so on. It’s absurd. Hanging things on the internal walls is like butter though, one swipe of the hammer and it’s hung. It’s so strange.

casualties

Anyway, this was quite a feat to get these hung, but we finally did. The conduit fits perfectly in the brackets. They’re not done yet, we still need to paint them and add finials to the ends, but I still haven’t decided what color to paint them and what finials I want.

final

The total cost for two eight foot rods with brackets was $12 plus some tax. So $6 each which like I said, for two huge rods is amazing. I’ll still need to add in the costs of the finials and spray paint but I still don’t anticipate each rod to end up being more than $10-12 each. The rods I was pricing out were $40-50 each (which was at discount stores like TJ Maxx and Ross) so I am totally pleased with this.

bracket hung

I’ll share the final look of them once I decide on paint color and finials! How do you guys hang curtains? I’ve said in the past how I hate drapes but with these humongous windows I have no choice!

diy wrapped storage boxes

This project was so easy and was incredibly close to free. Win, win. We needed some storage bins for our bedroom furniture and as much as I would have liked to buy all new, matching baskets or wire bins it wasn’t in the budget. So I decided to use some boxes that I already had and picked up some contact paper at TJ Maxx. The boxes were free and the contact paper was $5.99 for a pack of two rolls which I’ve used in about three other places in our apartment. I’d say I got my money’s worth!

supplies

I gathered up my boxes and paper and then I very simply just wrapped the boxes with the contact paper. Kind of like I did way back when I used wrapping paper to make some storage boxes. Often times I think people are intimidated by contact paper because of the whole stick factor and not wanting to mess up. But, it’s actually quite easy to peel of and readjust as needed.

wrapping

The contact paper I purchased had a graph on the back so it made it much easier to measure and wrap. However, if you find a cute pattern that doesn’t have the graph on the back it’s no biggie, because like I said this was super easy. If you know how to wrap a present you can wrap a few boxes.

wrapped

And even if you’re the worst present wrapper in the whole world you can still do this, I swear, because the contact paper will smooth right out. My favorite part about the whole project is how the chevron contact paper gives an added pop to boring storage.

final

You guys been up to any projects lately? Any great, inexpensive storage ideas?

reader project: paint chip calendar

I love this idea for a calendar. It’s great because you can choose whatever colors you’d like, match any decor you want, and it’s super easy because you just wipe off each month and start fresh the next. I love that.

I saw a friend post this on Facebook and I loved it. She said I could share it with you guys. Maybe you’ll get some inspiration to make one yourselves. I’m definitely going to make one once I figure out the decor and colors of our kitchen area. It’s really simple.

You choose the paint chips you want and a picture frame large enough to hold them all. I would look for a thrifted frame and paint it or use a craft store coupon (you can find them on all of their websites…never shop at a craft store without one!) to get a good deal on a new one, or maybe you have one lying around already.

paint chip calendar

You can simply tape or glue the paint chips in whatever order you’d like. In this particular one Katie also hole punched each paint chip and then used the punched out hole pieces to look like confetti at the top. So cute!

You can design it however you’d like to personalize it to your taste. Then, using a dry erase marker you simply write in the days of the week at the top and the dates on each square. At the end of the month, wipe it clean and start over!

I can’t wait to make one for our apartment. Have any of you guys made paint chip calendars? Maybe thought about it? Still like your flip-the-page-calendar-with-random-cats-or-dogs-or-landscape? Whatever you fancy!