armchair makeover: done!

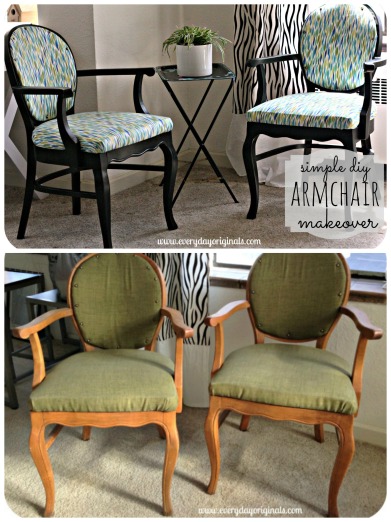
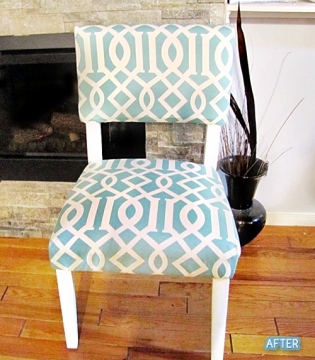
Wow. Just this week I had a moment of wondering if I ever posted the rest of this chair makeover. And then I realized I didn’t. So, here goes. What we had left to do was just paint and re-assemble the chair, really the easiest two steps.

IMG_4531

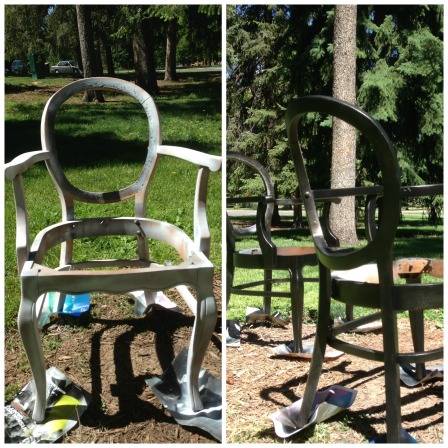
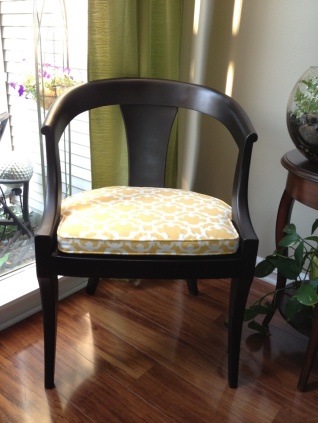
We decided to go dark with the chairs since the walls and carpet are neutral in our place. I love crisp white things but they would get lost with all the other neutrals. We used Krylon spray primer and oil rubbed bronze for the color. A quick, light coat of primer did the trick and then we Al got to spraying them. Each chair took two coats of paint to get full coverage.

PicMonkey Collage

They covered really well and dried nice and evenly. We painted them at one of the locals parks so while they dried I tortured Al with making him do a cross fit workout with me that I lead. Poor guy.

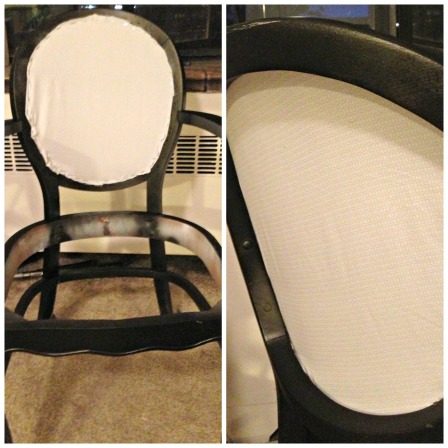
Once we got them home we started to re-assemble. First, using scrap fabric that I had I covered the back hole of each chair. I just cut the fabric to the size and used my staple gun to secure. The seat bottom was easy to re-attach, just needed to set it on the chair and drill the screws in. The top front piece was a two-man job.

PicMonkey Collage1

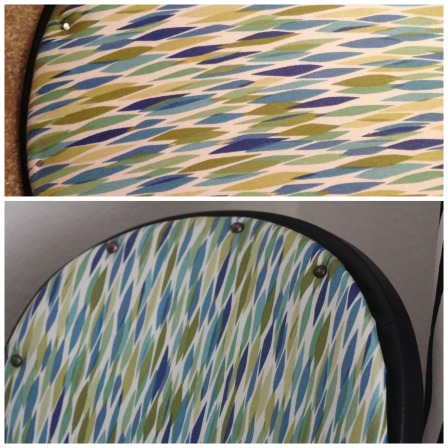
One of us would have to hold it perfectly in place while the other hammered. For this we just hammered nails right through the cushion to attach to the wood. We evenly spaced the nails and then re-used the original tacks that were on it to cover each nail. It actually worked out perfectly and saved me some money because I had originally planned to buy new upholstery tacks.

PicMonkey Collage3

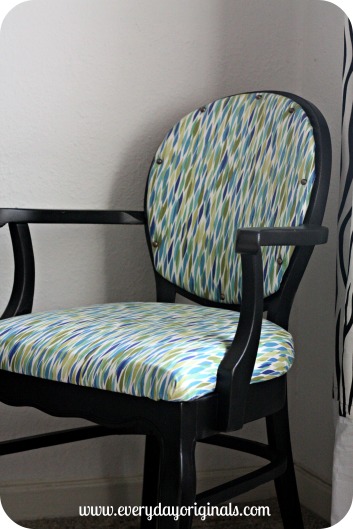
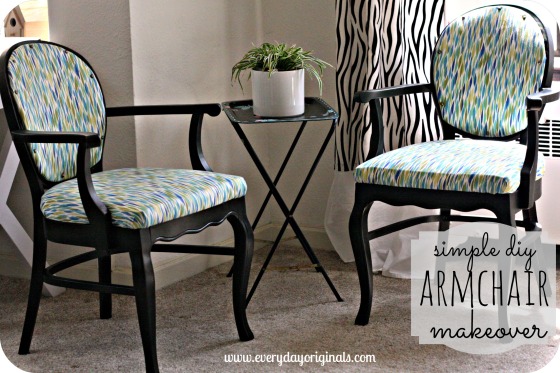
That was it! Our two free chairs got an inexpensive makeover.

IMG_4520

The fabric and paint cost a total of $25, so $12.50 per chair. I’ll take that price any day. One more before and after!

PicMonkey Collage


diy faux drawers

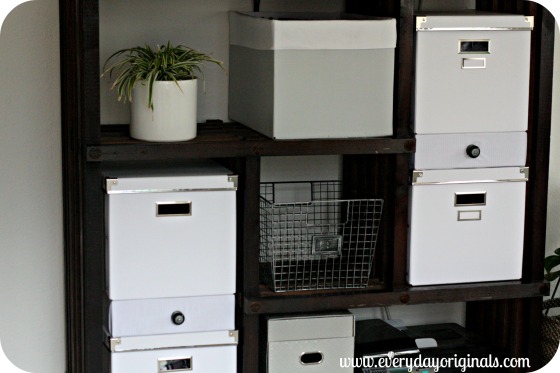
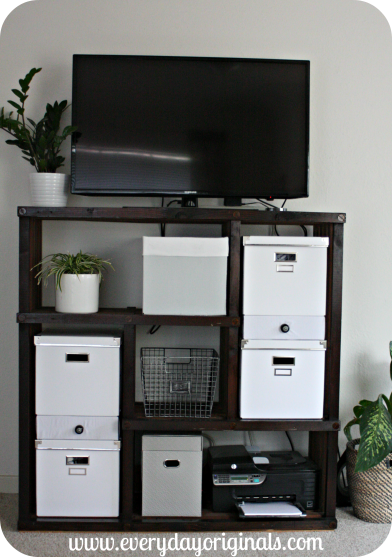
We bought some of these storage boxes at Ikea for a bargain price in the As Is section. We got the two pack for $3.99. After they fit perfectly in the intended space we purchased another pack at the full price of $9.99. But still, $3.50 per box is a great price for large, sturdy storage boxes! When stacked on top of each other though, I felt they looked a little boring; so I decided to create what looks like a drawer that separates them. This was probably one of the easiest projects I’ve ever done.

fake drawer 1

I used two priority mail boxes that I had. Yes, I felt guilty since the post office is hurting, but I had the boxes and never used them (I think what I was planning to ship in them didn’t fit) so instead of recycle them I re-purposed them. I know I could have brought them back to the post office but I didn’t. Okay, confession made, moving on.

fake drawer

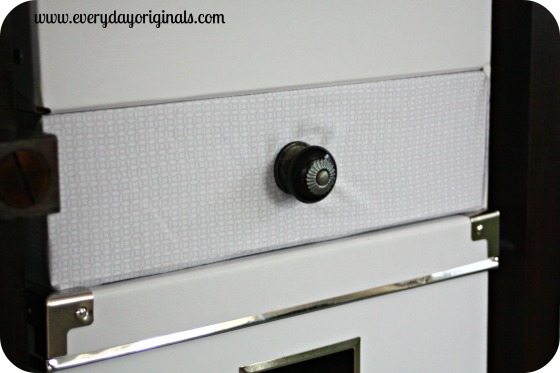
I started by slicing a hole in the cardboard in the spot I planned on adding the knob to. I then used fabric I already had, as well as drawer pulls that were in my stash. It was as simple as wrapping the boxes in the fabric, just like you would wrap a present. However, when I wrapped the box I left the far end unwrapped so that I could add the knob. Using scissors I slit a small hole through the fabric in the same spot where I made the hole in the cardboard. I secured the drawer pull onto the box and then continued wrapping the back-end of the box.

fake drawers 2

That was it, done! I placed the fake drawer between the two storage boxes and I love the way it looks. It adds a little dimension, a nice subtle pattern and makes the whole space look a tad more visually appealing. The fabric is even the perfect coloring to go with the storage boxes I made for free. Now, I totally get that they don’t actually look like a drawer, but I like the idea of it and the way they come out.

Nothing like completing a great, simple, free project! Next up is getting control over those wires and cords. For the love isn’t it time everything be wireless now?

new chairs!

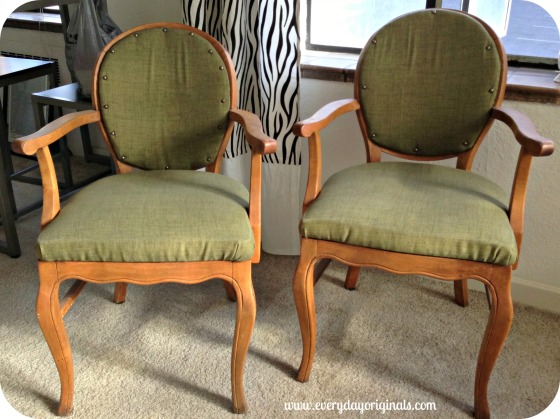
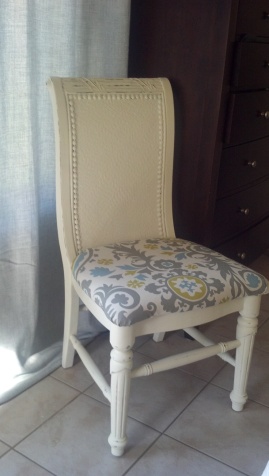
I mentioned a few weeks ago in my high-five for Friday post that we had scored a few chairs that were sitting next to the dumpster behind our building  They’re really in perfect condition and I will never understand why people just throw things away. Donate, people! Keep perfectly good things out of landfills!

Anyway, the chairs.

I love everything about them. The shape and lines, the oval backs, the wide arms. But I can’t decide how to make them over. Help!

chairs

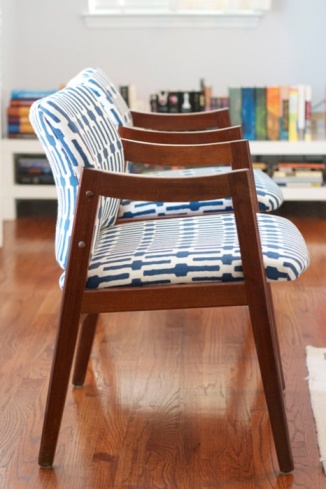
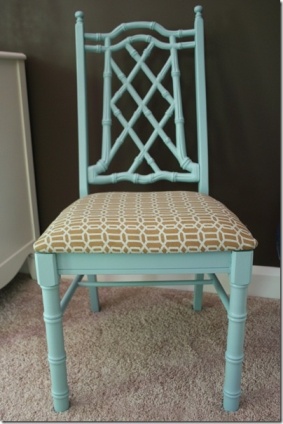
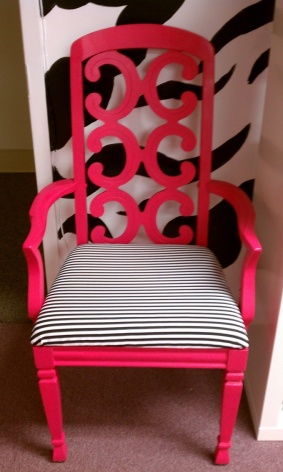
Should I paint them white, black or ORB like my last chair makeover? Or maybe a fun, bright color? Or re-stain them? What about fabric? Plain? Geometric? Stripes?

447fb98803642692c4b9d7a202ce9152
source
cd27bf73d441e4d5e1813fc727a7a65c
source
f2bdf688cc2a686d61cea88298479870
source
8596ee76380c2b38f0693b5bacadd65a
source
15eaf104e59d0799dd7bb2352a2600bc
source
d6a2591ebecf8cfbfa6ca028c30079f3
source

So…what do you guys think? How should I makeover these chairs? I’m open to any and all suggestions because I really can’t make a decision on them. Send me pictures, tag me in pins. Any inspiration is great! I’m hoping to get started on these this weekend and I can’t wait…as soon as I know what I’m doing to them!

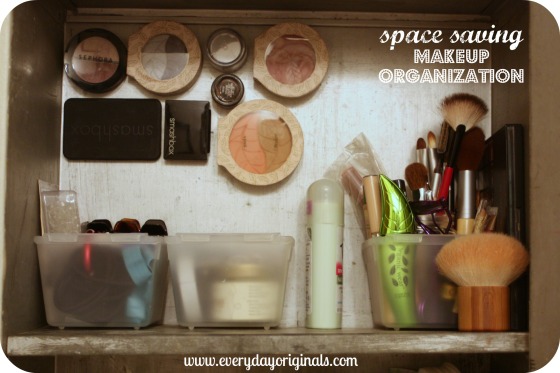
space saving makeup organization

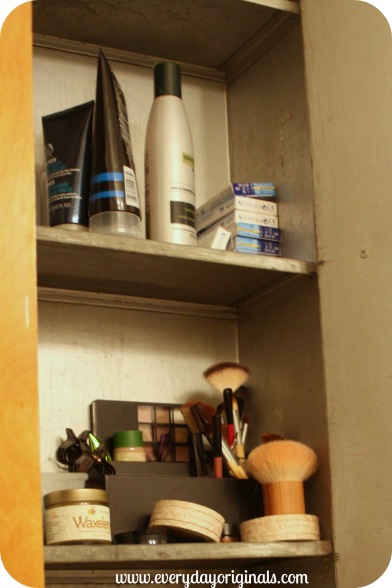
We have this built in cabinet thing in our bathroom. I’ve never seen anything like it and wouldn’t even know what to call it. But it’s fabulous with lots of storage so I’m not complaining. We each have a shelf and then there are two shared shelves with cotton balls, q-tips, etc. It’s incredibly challenging to photograph because of the angle so I couldn’t capture the whole cabinet!

makeup before

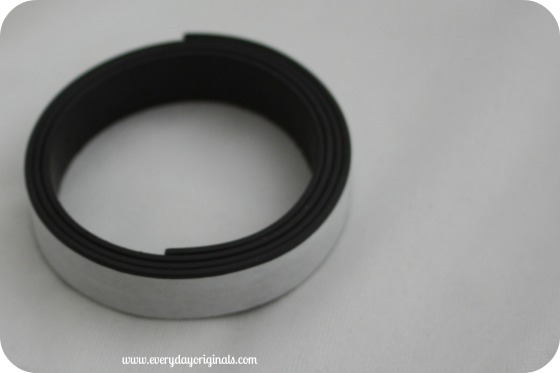
My shelf houses mostly my makeup but there was no organization to it. The simplest thing I could think of was adding magnets to the makeup and sticking them on the walls of the cabinet. So I did. I grabbed a roll of magnets at the craft store for a couple of bucks and cut them to size to fit each pieces of makeup.

magnet roll

I had a pack of three small containers from the dollar store that organized other items such as hair ties, bobby pins and other miscellaneous things. The makeup brushes are in a tiny glass jar that I had. It was the perfect size for the brushes.

final magnets

I gained so much more space and organization just by adding magnets to the pieces I could. So simple, inexpensive and beneficial!

bedroom furniture makeover

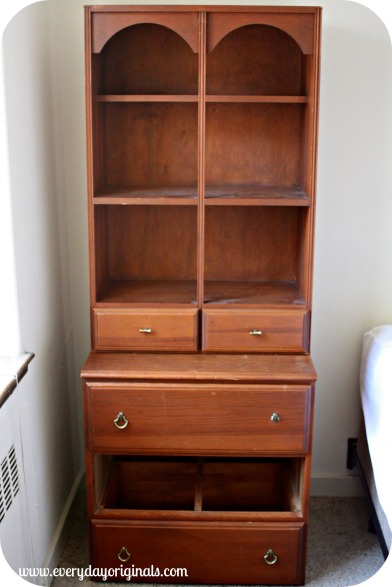
Last week I shared with you guys the great Craigslist find that we scored for our bedroom furniture. Well, like any furniture brought into our home it was about to get a makeover. I’ve been trying hard to go out on a limb and step outside of my comfort zone in this apartment like when we painted the coffee table emerald-green. But after this disastrous choice I’ve decided that there is nothing wrong with loving fresh crisp colors that brighten a room and make it seem larger, like grays and whites, and adding pops of color around it. We started here:

bedroom furniture

For our bedroom I wanted to bring in a nice coral-red color and mix it with teal/turquoises. So after spending about an hour in the paint section (it’s never a quick trip, I usually freeze up and Al needs to either make a decision for me or remove me from the situation only to return later and start it all over again) I decided on a soft red/coral color and a very light, almost white, gray color.

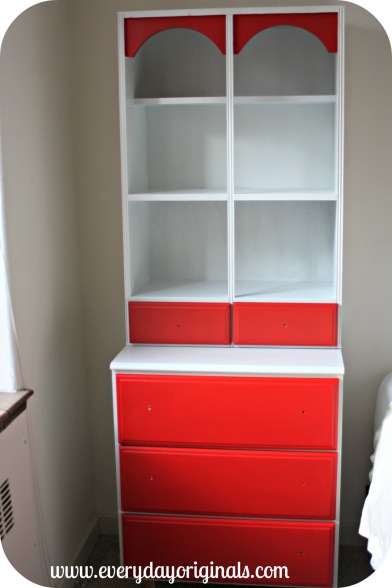
Beautiful paint job, but the result looked like something straight out of a 7-year-old boys’ room that had a baseball theme.

red and white

So in true form I decided that I wanted the whole thing fresh white so we ended up re-painting all of it in the neutral gray/white that we had bought.

shelves1

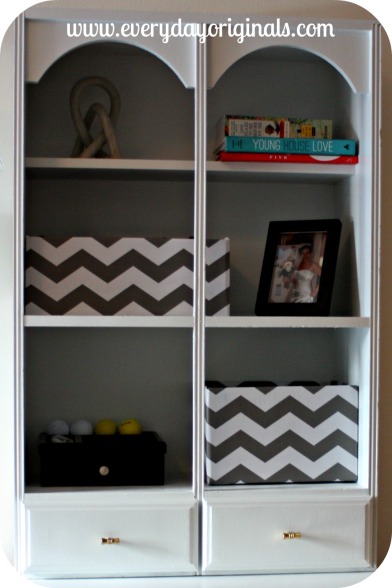
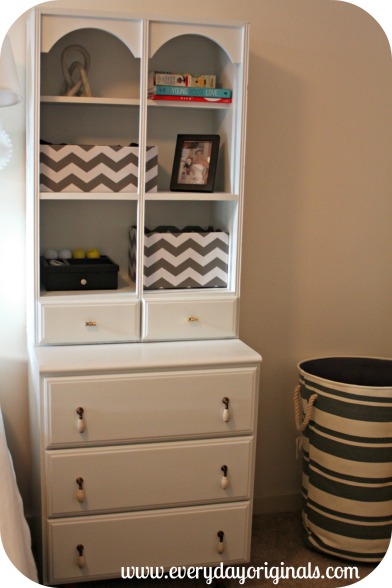
Al lightly sanded all the pieces. There was no finish or paint on them so it was a quick sand then a quick, thin coat of primer. He then got to work painting the rest. I was planning to wall paper the inside, back wall of the shelves but decided against it because I had my diy storage boxes and I thought all the pattern would be too much. So I painted the insides and figured down the road I can always add paper.

final

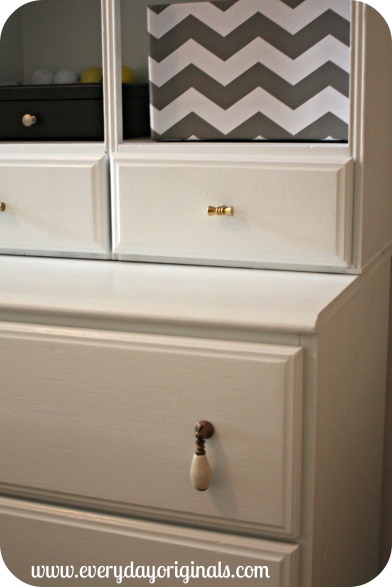
I picked up new drawer pulls at Hobby Lobby for $2 a piece for the lower drawers only. I plan to add colorful ones to the two small drawers but I want to wait until the whole room comes together before making a decision.

drawer pulls

We let the whole thing dry for 3-4 days before moving in. Once it had plenty of time to dry and set we added our storage boxes, our clothes and other small accessories.

I’m confident that these are the best option for bedroom furniture for our tiny bedroom. You know I love me some great vertical space! What type of bedroom storage do you guys use in small spaces?

our bedroom furniture find

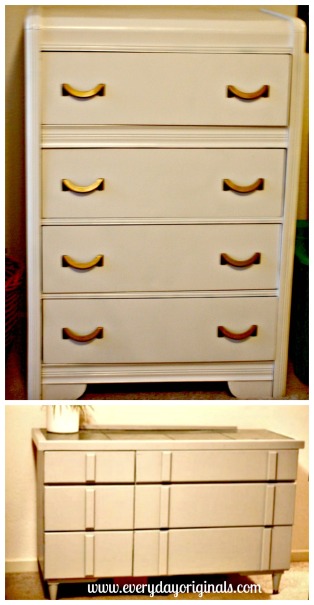
We had been looking for a while for the perfect furniture/clothing storage to fit our small bedroom. It needed to be vertical, spacious, not bulky and, well, fit in our car. We had tried two earlier pieces. One was a horizontal  low dresser we found at a thrift store, the other was a vertical, tall dresser found on Craigslist. Neither worked out and both were re-sold on Craigslist (for more than we paid for them!!).

PicMonkey Collage

I kept looking and this time didn’t want to jump on anything because the whole purchase, cart home, hate, re-sell thing was a bit much. As I was searching for a desk one day I stumbled upon this entire desk unit. It was basically two small dressers with book cases that sat on top and then a desk that went in the middle. The seller wanted $30 for the whole thing, all five pieces. It was the perfect size and was pretty much exactly what I was looking for to go on each side of the bed.

Just to clarify there are no missing drawers, I have no clue where the middle drawer was when I was taking this picture!

bedroom furniture

With $30 cash in hand we headed to pick the pieces up. I let the seller keep the desk to re-sell because it wasn’t going to fit in the car, wasn’t the type of desk I wanted and I wasn’t about to make another 35 minute trip for something that I was just going to toss back on Craigslist.

Everything fit well in the car and I was totally elated that we had just scored four pieces of the perfect sized furniture for $7.50 each! I love the rounded detail in the bookshelf and I love the style of the legs. Each has three main drawers, which combined with our closet space is enough for all of our clothing, and two small drawers which house lotion, lip balm, etc. We use those drawers as if they were a night stand since these units are doubling as bed side tables for us. And look at these adorable legs. This is a painting tip for furniture legs – poke them into a cardboard box to keep them upright!

furniture legs

I’m totally thrilled with them and can’t wait to share how we’ve painted, and re-painted (!) them. Stay tuned!

You guys score any good second-hand pieces lately? I have to say we have found a few great pieces, but Craigslist Denver is nothing like Craigslist Boston. There is not nearly the fabulous selection of goods out here!

gold and emerald coffee table

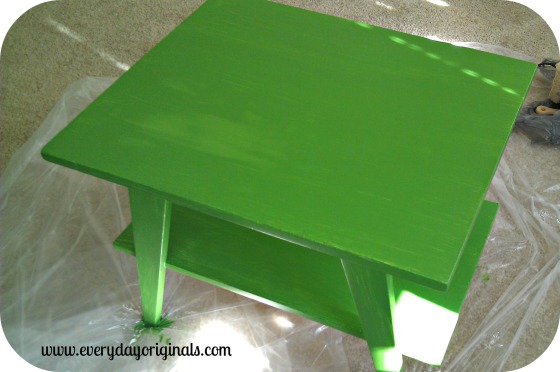
We found this great, small coffee table at a thrift store shortly after we moved here. We paid a whopping $5 for it and it’s solid wood, which I love. We went back and forth on color to paint it, I wanted more of a red-orange color but then Al suggested this emerald green color and I thought, why not try something new. So he got to work on it. When we moved here I started work four days after we got here and his start date was four weeks out so he did a lot of the projects around the house during the day.

first coat

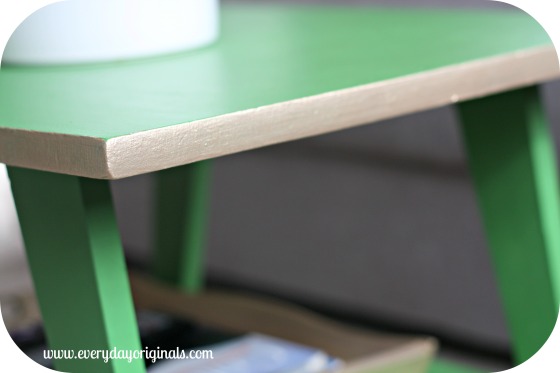
He gave it a light sanding to rough it up a little. He didn’t prime it and instead just got right to painting it, which after two coats seemed perfectly fine. It was the perfect pop of color in this white and grey apartment. I wanted to add a little more to it though so with a small, fine tip brush I painted around the edge in gold.

gold edge

This took about 100 coats because I didn’t prime it, so see, something need priming, some don’t. I didn’t mind though, I would just paint a coat of gold on each time I walked by or in between doing other things.

table

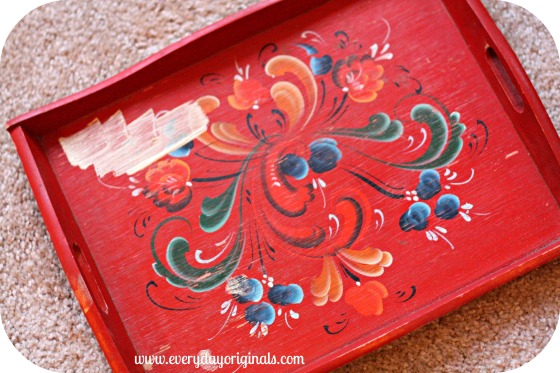
I had also found this perfect sized tray with a horrific painting on it for the lower part of the table.

tray

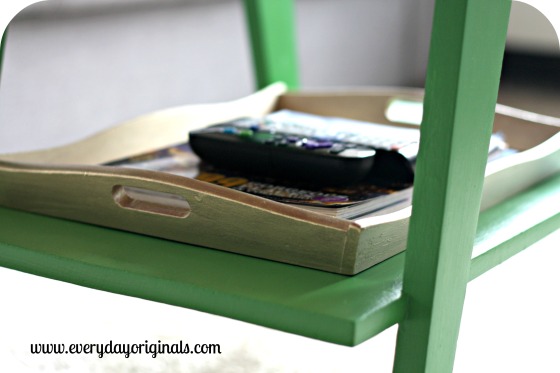
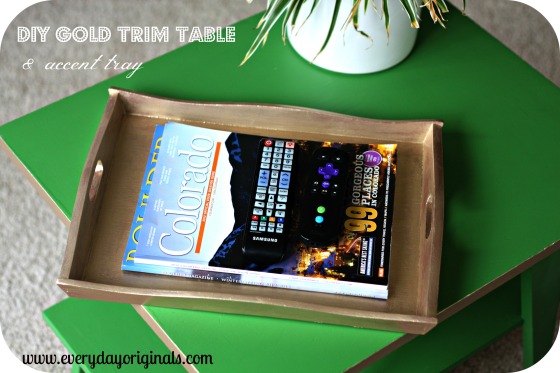
I painted that gold as well and that also needed I’d say four coats of the gold. It actually could still use one more coat I just keep forgetting!

gold tray

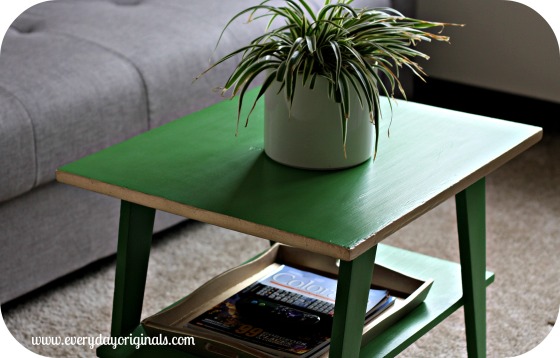
I love the look of the table and tray together. It’s the perfect size table for our space and I like have the tray to corral rowdy things like the remotes, magazines and coasters.

final

Turns out Pantone was right on with emerald being their color of the year for 2013. Have you guys brought any emerald into your lives through your home or closet?

our temporary living quarters

For two months we’ve been living with my sister and brother-in-law. I truly don’t think there’s any other way I would have rather spent my last weeks before moving. It has been the most hilarious and fun few months!

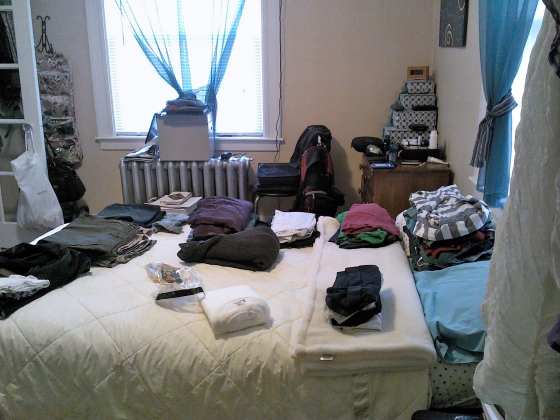
So before we start packing up (which in these photos we were starting to pack, hence the giant disaster that looks like the room threw up) I wanted to show you how we’ve made the best of the space we had. Hayley and Seth had a generous spare bedroom to offer us so we moved in with essentials while everything else is stored at my father-in-laws house. And as you know from our yard sale we sold a whole heck of a lot of our things so we have very few boxes to move with.

They had a super comfy futon already in the spare room so we have been staying on that. They also had a small three drawer dresser that we used.

Here are some other things we did to make the best of the space and make sure it worked for us:

  • borrowed an unused dresser from Al’s Dad
  • used a clothing rack that was left in our last apartment
  • used under the bed plastic containers
  • baskets for shoes, jeans and bags
  • used hanging contraptions for jewelry and makeup storage
  • used over the door hooks

I used a folding chair as a nightstand, Al used the three drawer dresser. We lived limited while we were here, which turned out to be great. I’ve realized how little we actually need and hope not to replace everything that we had before.

That little brown box on the radiator served as our office, housing important things and we used a small magnet board to hang our calendar and other things like invitations.

So, even though these photos were outrageous (they actually depict kind of how our lives have been for the past few months!) we definitely did a good job of making the best with what we had. And for real, our room was usually neat and organized. Ask Hayley and Seth!

a peek into the archives: small space photo collages

To celebrate EO’s 3rd Blogiversary we’re taking a peek back into the archives. There are lots of great posts and information in the archives so I thought I’d re-visit some this week. Enjoy!

Even though our living room has such little wall space I wanted to be sure to still hang some photos of family and friends. However, I knew I wasn’t going to be able to pull off a large photo wall like I did in our last two apartments. So, instead I created two photo collages. I picked up two 11×14 frames at the thrift store.

I think I paid $2.99 each, or somewhere around there. We spray painted them black, which we already had on hand. I gathered together all the photos that I wanted to include in the frames, but I ended up having too many so I had to pick and choose.

Using my cutting mat, rotary cutter and yard stick I started trimming and sizing each photo. I decided to do this first instead of figuring out a layout first. Many of the photos had plenty of space to be chopped off, which made it was easier for me to trim them to size and then arrange.

I used a light colored linen fabric to cover the photo mats that came with the frame. I simply wrapped the mat like it was a present and taped the back side of it. Once the mats were covered and the photos were all cut I arranged and re-arranged one hundred times until I found the perfect setup where they all fit.

I went ahead and washed the glass on both sides and reassembled the entire collages.

Don’t mind the crazy flower petals and leaves overlapping the collages. I’ll share the whole wall when it’s complete! I’m entirely satisfied with how they turned out though. I love the smooth lines and the mix of color and black and white’s. It’s hard to capture the color and texture of the linen background here, but it’s such a lovely backdrop to the photos.

I’d love to know how you all hang/share photos? Picture frames? Collages? Does anyone have one of those digital frames? I love the idea of the digital frames but I’ve heard they use a lot of energy. Thoughts?!

bedside table organization

I have to give entire credit of this project idea to my Aunt Dianne. She told me about it long ago and I finally acted on it this summer!
It’s so simple, yet probably one of the most useful projects I’ve ever made/created/upcycled/re-purposed. Really the only thing you need is one of those outdoor, barbecue or cookout utensil baskets. The one with all the different sections.

I found mine at a yard sale for $1. It was a little beat up though, so naturally I gave it a coat of spray paint. I then added a small strip of ribbon to the front to cover some of the broken basket pieces. I also cut off the handles.

Before this I always had everything thrown on top of my nightstand; my book, lotion, chapstick, face cream, nail file and so on. Now, everything has a perfect spot. It’s amazing! The compartments are also the perfect size for a TV remote or to roll a magazine into.

It’s just so clever! I would have never thought of this, but I’m so glad my Aunt Di did. I love how neat, orderly and cute it looks. Do you have a certain way of organizing bedside clutter? If you say throw it in the drawer, I’m all for that. Our bedside table drawers barely fit a book though so I needed another option!