diy wrapped storage boxes

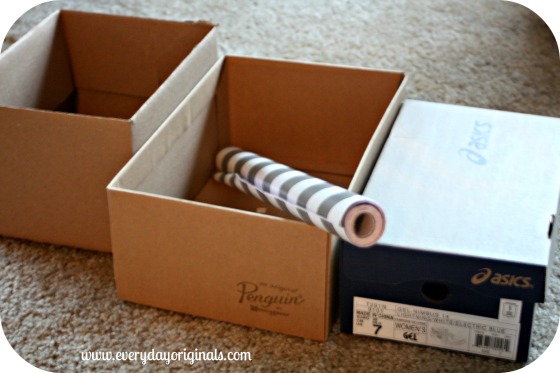
This project was so easy and was incredibly close to free. Win, win. We needed some storage bins for our bedroom furniture and as much as I would have liked to buy all new, matching baskets or wire bins it wasn’t in the budget. So I decided to use some boxes that I already had and picked up some contact paper at TJ Maxx. The boxes were free and the contact paper was $5.99 for a pack of two rolls which I’ve used in about three other places in our apartment. I’d say I got my money’s worth!

supplies

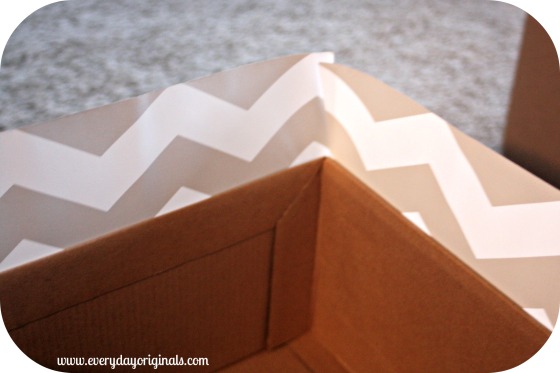
I gathered up my boxes and paper and then I very simply just wrapped the boxes with the contact paper. Kind of like I did way back when I used wrapping paper to make some storage boxes. Often times I think people are intimidated by contact paper because of the whole stick factor and not wanting to mess up. But, it’s actually quite easy to peel of and readjust as needed.

wrapping

The contact paper I purchased had a graph on the back so it made it much easier to measure and wrap. However, if you find a cute pattern that doesn’t have the graph on the back it’s no biggie, because like I said this was super easy. If you know how to wrap a present you can wrap a few boxes.

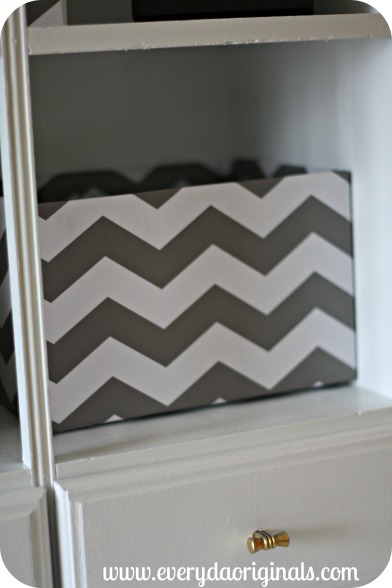
wrapped

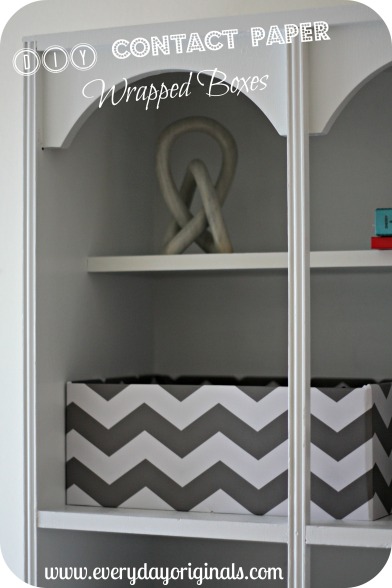
And even if you’re the worst present wrapper in the whole world you can still do this, I swear, because the contact paper will smooth right out. My favorite part about the whole project is how the chevron contact paper gives an added pop to boring storage.

final

You guys been up to any projects lately? Any great, inexpensive storage ideas?

reader project: paint chip calendar

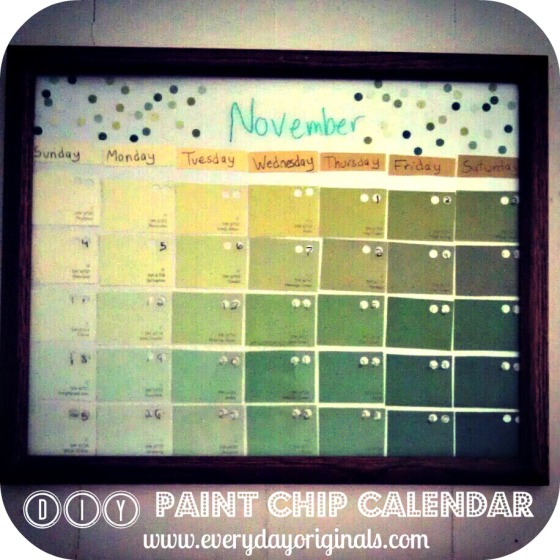
I love this idea for a calendar. It’s great because you can choose whatever colors you’d like, match any decor you want, and it’s super easy because you just wipe off each month and start fresh the next. I love that.

I saw a friend post this on Facebook and I loved it. She said I could share it with you guys. Maybe you’ll get some inspiration to make one yourselves. I’m definitely going to make one once I figure out the decor and colors of our kitchen area. It’s really simple.

You choose the paint chips you want and a picture frame large enough to hold them all. I would look for a thrifted frame and paint it or use a craft store coupon (you can find them on all of their websites…never shop at a craft store without one!) to get a good deal on a new one, or maybe you have one lying around already.

paint chip calendar

You can simply tape or glue the paint chips in whatever order you’d like. In this particular one Katie also hole punched each paint chip and then used the punched out hole pieces to look like confetti at the top. So cute!

You can design it however you’d like to personalize it to your taste. Then, using a dry erase marker you simply write in the days of the week at the top and the dates on each square. At the end of the month, wipe it clean and start over!

I can’t wait to make one for our apartment. Have any of you guys made paint chip calendars? Maybe thought about it? Still like your flip-the-page-calendar-with-random-cats-or-dogs-or-landscape? Whatever you fancy!

diy scrapbook page templates

This was a really fun gift to make and it was actually quite simple. And, with coupons it was very reasonably priced at just under $12. I made a scrapbook full of page templates so that the photos can be easily added afterwards.

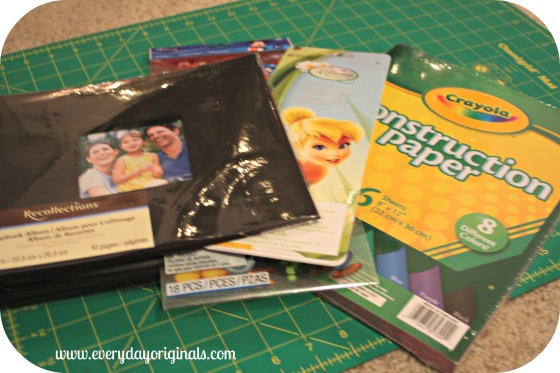
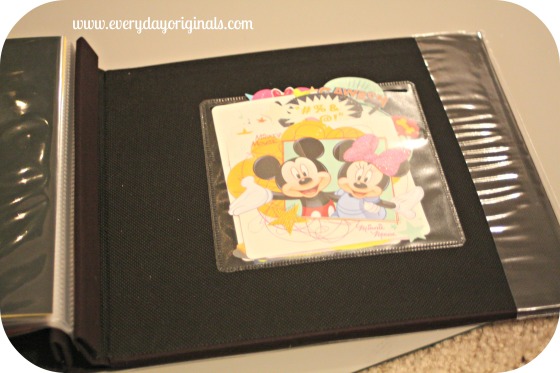
I bought a small scrapbook, stickers, die cuts and construction paper.

scrapbook supplies

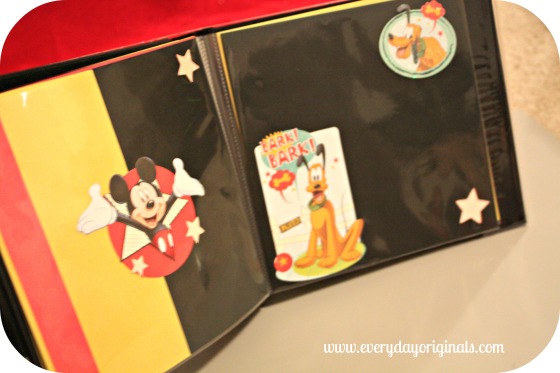
I pulled out the color paper I wanted to use and cut them to fit the pages of the book.

pages 2

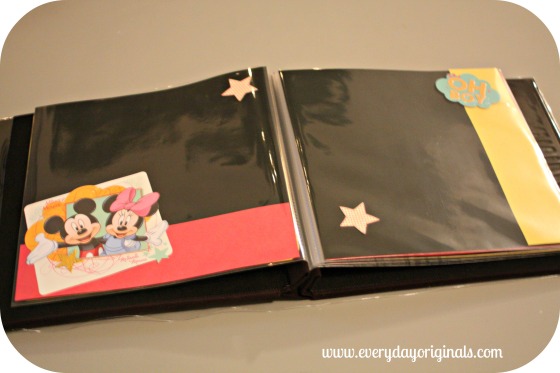
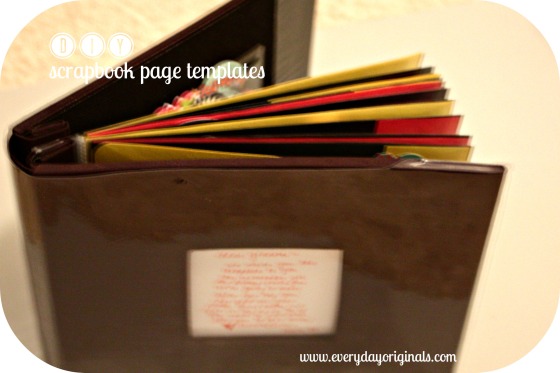
Then, I simply had fun arranging and re-arranging each page until deciding on the final design.

pages 1

At the end of the book was a slot for a photo CD. In there I stuck all the extra stickers and die cuts in case more are wanted to be added later. They all fit perfectly.

extras

I wanted to keep each page simple, not too busy, so that after the fact the main focus is the photos.

final scrapbook

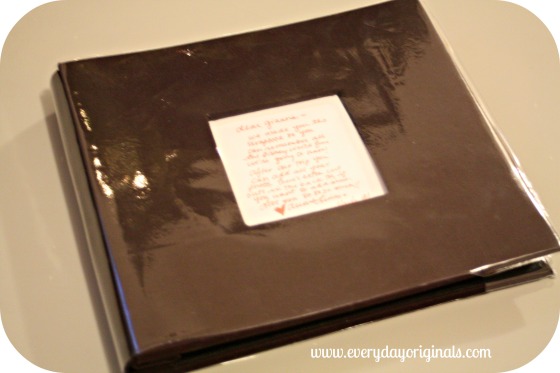
We added a note in the front, but that will eventually be replaced with a photo.

front

I love it and this was really fun. A great gift for all ages!

how to wrap a gift card

I received the most adorable invitation for my friend Heather’s bridal shower.

I loved the back of it so much that I just couldn’t toss it. So instead I recycled it into a gift card holder for my other friend, Alison’s, wedding gift.

It was quite simple, yet at the same time I have no clue how to explain what I did. I just started folding and cutting and gluing.

I used the piece that I cut off to make a little pocket so the gift card could sit right in it. I glued the cut piece onto the larger piece, only gluing the bottom edge and slid the card right in.

I tied it with some twine to give it an added rustic look and popped it in the wedding card. So much cuter than just sticking the gift card in their wedding card. And even with the thick twine it fit just fine. Have you guys been working on anything these days? I unexpectedly had most of the week off last week so I took advantage of it and disconnected for a while. Hope your summer is off to a great start!

guest post: recycled greeting card gift boxes

My sister’s friend Cate lives out in Chicago and sent in this great project that the Chicago Children’s Museum provided instructions for. Here’s her note:

I saw this on the news – they are doing a “Holiday Ecology” program to recycle used greeting cards at the Chicago Children’s Museum. Of course I have plenty of cards that I am not super attached to and especially with the recent gift card swap (which took place at my parents house Christmas Eve!), this seems like a perfect solution for recycling and packaging a small gift.

The directions are simple:

Cut the card in half (I had a card with three pages so I didn’t have to use the signed portion – also, I think a substitute of plain cardstock for the bottom would suffice if you don’t want to include the signed page).

Then make an X on the inside of each by drawing across from corner to corner. On the page that will become the top, make a small (a few cm) box around the center of the X. Fold the edges in to meet the center (or the sides of the box around the X).


Cut the long folds of the corner so you can fold them in to meet each other and then fold the taller end over the top (I can’t better explain this, but see the picture below!).

Tape it all in place and you’ll have a top that fits perfectly over the bottom.

I hope this seems clear. It’s really simple and took me maybe 2 minutes per card. Happy recycling!

I love this! What a great way to recycle greeting cards. I will definitely be using this in the future for small gifts and gift cards. Thanks for sharing with us, Cate!

diy gift card boxes

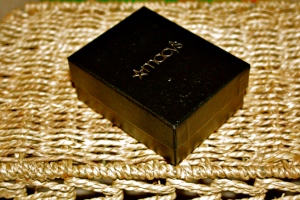
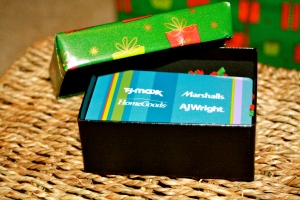
The other day I was standing in a check out line and I reached for a few of those cute gift card boxes. While I stood waiting I thought to myself, “don’t be riduculous, such a waste of your money.” I came home and made some using boxes that I had in my gift wrapping stash, such as cardboard jewelry boxes.

First, I stuffed the box with some of that paper confetti stuff.

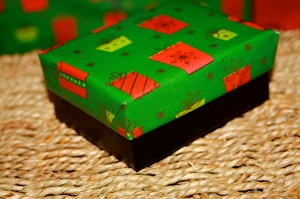
I made them while wrapping gifts so I used some scraps of the paper and wrapped the top of the boxes just like it was a gift. I only wrapped the tops because I like the look of the solid color bottoms.

My gift card fit perfectly into this particular box.

The second one I made was a bit larger of a box but it’s for a gift card that was purchased online so you print it out. Which means it’s larger than the normal gift card size.

Because this gift card was paper I didn’t want to also add the paper confetti so I left the felty jewelry thing in the box.

Wrapped it the same way and I was done. I can’t show you this gift card in the box because it’s for a blog reader, but just know it fits great!


How do you creatively give gift cards? Share, share, share!

a few more boxes

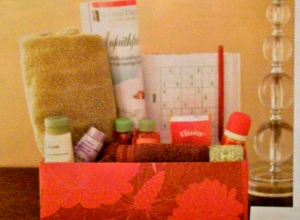
I wanted to add a few more things to last week’s post about the wrapped shoe boxes. Another use for your box is to use it on a dresser to hold items for yourself or to use in a guest room with items that house guests might need.

The good ole’ magazine holder is another one that I’m sure you all attempted to make in your childhood, I know I did…they come out much cuter now. Using a cereal box, cut it down to the shape and size you like and then wrap it the same way you did the shoe box. You can use paper or fabric for all of these projects. Please do share any other similar projects that you have done, wish to do or think would be a great idea. I’d love to hear them and am always looking for new ideas.

diy monogrammed notecards

My friend Alison is our guest blogger for today, check out her post and awesome DIY notecards below!

———————————-

This year, I decided to do a couple of Christmas presents DIY style.  I find the sharing more exciting when gifts are hand-made, and not to mention budget friendly.  I tried a project I have been thinking about for a while- simple monogrammed cards.

List of supplies:
rubber cement with rubber cement eraser
ruler
pencil
decorative paper
blank cards
envelopes
box cutter

First, I traced the size of the card onto the back of the paper and cut it out.  Then trace the initials you are monogramming onto the back of the cut out-backwards.  Using the box cutter, carefully cut out the initials.  I recommend using a thicker stencil because it makes the cutting much easier.  Slather the rubber cement onto the back of the paper and press it onto the front of the card.  When it all dries use the eraser to take off the excess.

Some things I learned along the way: Use a thicker font, it is much smoother and easier to cut out your stencil. Pace yourself, it takes some time so don’t expect to whip up 20 cards in one sitting.  Keep the cutouts of your letters and make some extra cards using just the stencils.  Try using leftover scrapbooking paper or even recycle wrapping paper to save some cash.

———————————-

Aren’t these great?! Such a perfect gift for anyone and a great use of leftover scraps of paper. Good job Alison!