Wishing you all a very safe, happy, relaxing and fun Fourth of July. Be sure to celebrate this beautiful country that we are blessed to live in. Have a blast!


Wishing you all a very safe, happy, relaxing and fun Fourth of July. Be sure to celebrate this beautiful country that we are blessed to live in. Have a blast!
I’ve mentioned probably a thousand times here on the blog how we have no photos from our honeymoon. We were robbed three weeks after our honeymoon and lost all photos. I hadn’t had the chance to back them up yet and it was a total loss. Nearly four years later and I still cringe at the thought of the whole thing.
When we were on our trip I took home a water bottle filled with Bahama sand. I’ve carted it around for four years and have done a few things with it, but really not much. I had used it in a vase one time but that was all.
This year I felt like the best thing to do with it was to pour the sand into an ornament and hang it on our tree. For just over $1 (I used a coupon!) I grabbed a plain glass ornament at Joann Fabrics. I liked that it was more of a flat round, than the ball style ornaments.
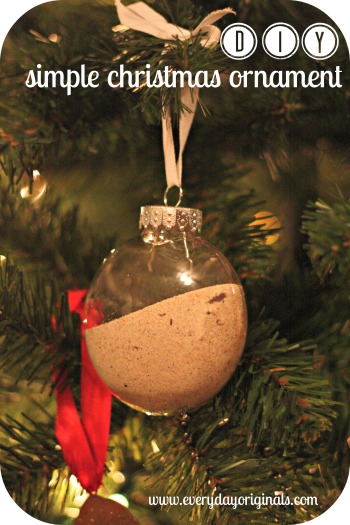
I poured the sand into it and used a plain ribbon to tie it on to the tree. I love the simplicity of it. I may include a little sliver of paper that says the dates and location we traveled to, but for now I love that it’s plain and we know what it is and where it came from. Second best to photos, right?
Ugh, back up your photos instantly people!
I have to say I’m super proud of this project. Though they didn’t come out perfect – very few things do, but I’m totally cool with that (!) – it was the first time that I completed a sewing project without the following happening:
1. my sewing machine jamming
2. me screaming and stomping like a child after said sewing machine jams
3. giving up completely on the entire project or resorting to using heat bond tape
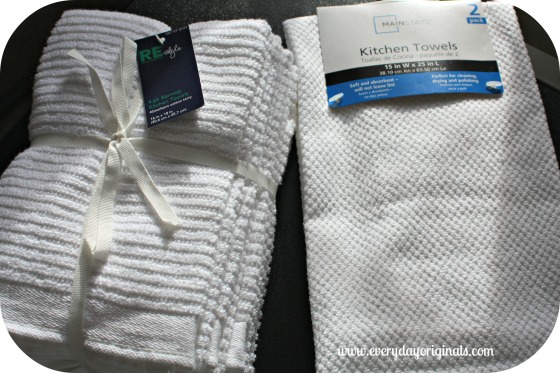
So, I’d say it was a success in my book. I wanted to add a small touch to some ordinary dish towels. I grabbed some plain white ones at Target, I believe they were $3.99 for a four pack and then a two pack at Wal-Mart for $3.00. I picked up a small strip of fabric for just a couple bucks – I bought 1/8 of a yard and I had some left over after making 4 dish towels. Not bad!
First, I washed both the dish towels and the fabric. I didn’t want either or them to shrink and get all funky (technical term there) or the colors to run the first time they were washed. I also ironed them both after washing.
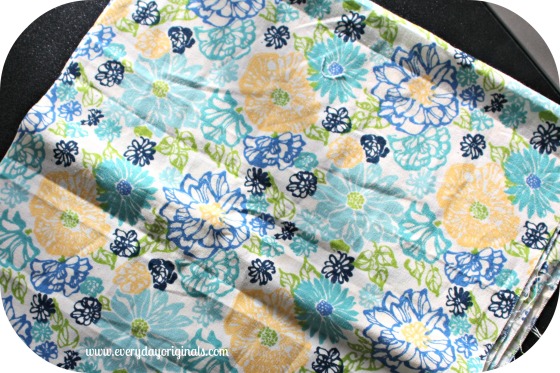
There was no science to this project at all. I cut up the fabric and placed it where I liked it best. On some I added the strip of fabric in the middle, some I added it to the bottom. I turned the fabric wrong side up, right side down, however you look at it, and ironed about 1/2 inch of each side so that there were 4 straight sides and no frays flying about.

I pinned it to the dish towel and sewed it up. I will admit that some of my lines are not straight and there are some hems that may be double the size of others, BUT HEY, I did it, I was proud and I avoided 1 through 3 above. I think the recipients are going to like them too! At least I hope so, don’t tell me otherwise because you’re probably both reading this right now…

Are you guys making anything good? Any fun DIY holiday gifts??
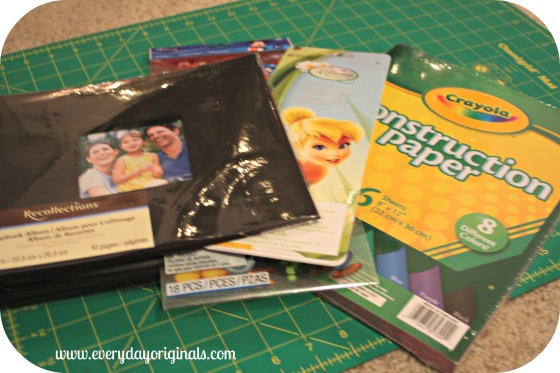
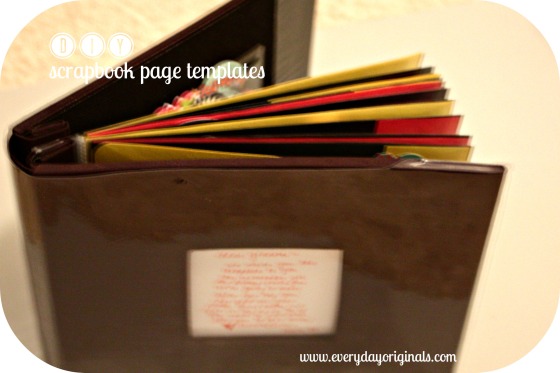
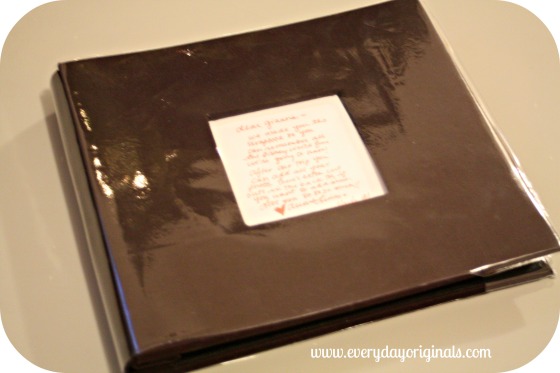
This was a really fun gift to make and it was actually quite simple. And, with coupons it was very reasonably priced at just under $12. I made a scrapbook full of page templates so that the photos can be easily added afterwards.
I bought a small scrapbook, stickers, die cuts and construction paper.
I pulled out the color paper I wanted to use and cut them to fit the pages of the book.
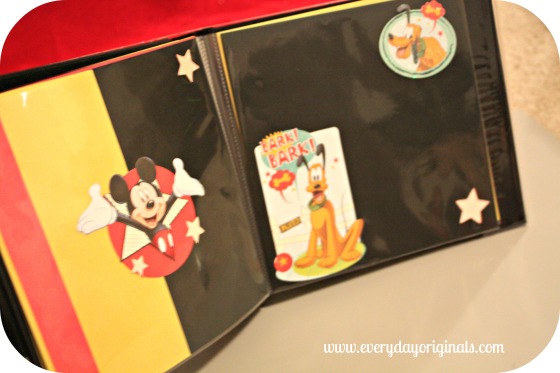
Then, I simply had fun arranging and re-arranging each page until deciding on the final design.
At the end of the book was a slot for a photo CD. In there I stuck all the extra stickers and die cuts in case more are wanted to be added later. They all fit perfectly.
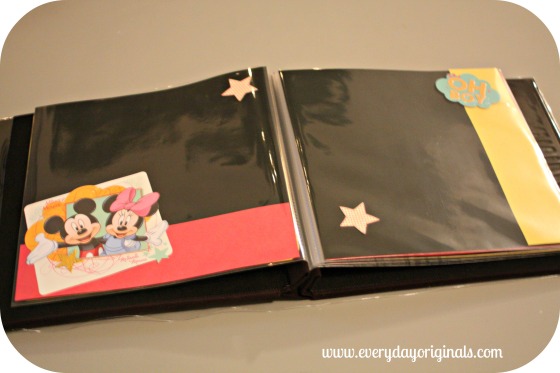
I wanted to keep each page simple, not too busy, so that after the fact the main focus is the photos.
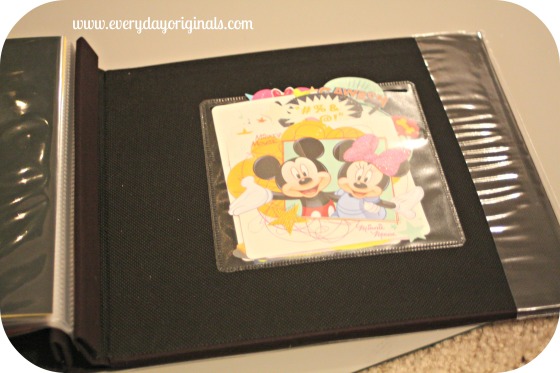
We added a note in the front, but that will eventually be replaced with a photo.
I love it and this was really fun. A great gift for all ages!
I wanted to give my team mates at work a little something for the holidays. Nothing huge, just a small “hey thanks I appreciate all you’ve done for me” gift.
I decided to grab these adorable bags at TJ Maxx for them. But, I wanted to added something personalized to them.
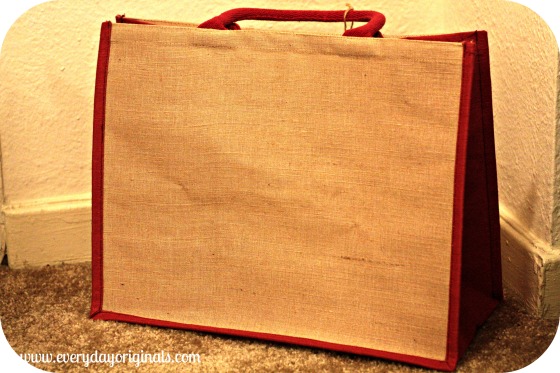
I cut out twine into their first initials and hot glued it to the bag. I did slide a piece of cardboard into the bag just in case the hot glue ran through. It didn’t, but better safe than sorry.
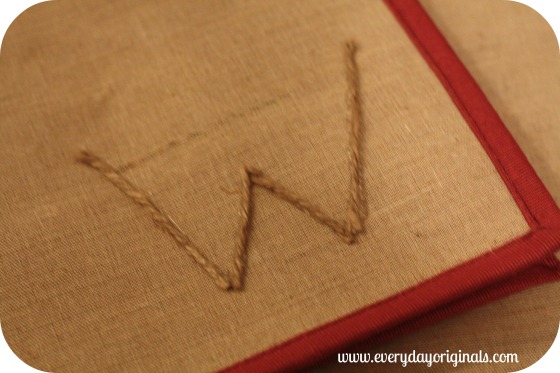
After it dried I used cream-colored yarn and the largest sewing needle I had. I knotted the end of the yarn and simply hand sewed over the piece of twine. It was so simple.
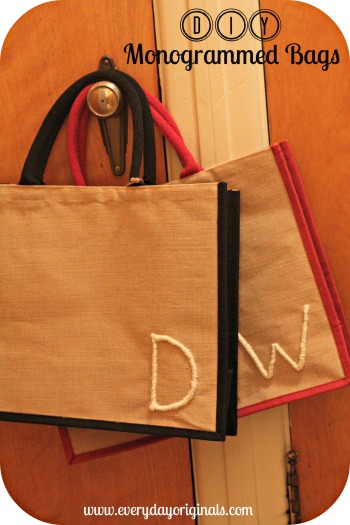
I really loved the way they had turned out and wished I had made more of these for others!
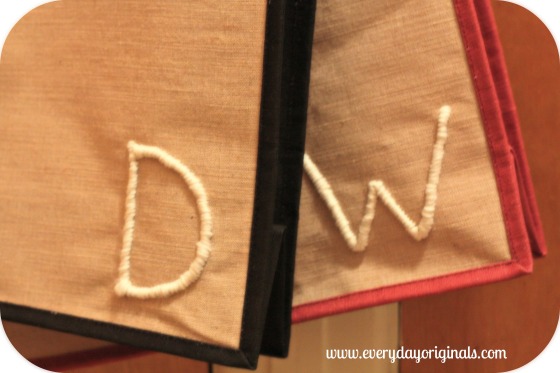
It was an inexpensive, but meaningful and personalized gift. I’m happy to report that they both loved them!
I wanted to make a few of these notebooks for gifts this year. However, though incredibly cute, it was so time-consuming to make, so if I was going to make seven of them I would have need to started weeks ago. So instead, I just finished up this one for myself. And, to be honest, if I was only making one or two I wouldn’t have minded the time commitment, but seven was too many.
I started with a five-star brand, small notebook. The one I used had the plastic material for the front and back. I do think this would have worked better with a notebook that had a cardboard front and back. Hey, DIY is all about trial and error, right?
So, I gathered my supplies: 1 notebook, mod podge, scrapbooking paper, paint brushes, scissors.
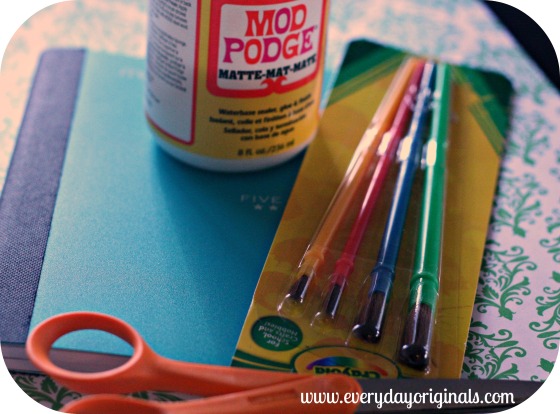
I first cut a strip of paper to fit the front side. I decided not to cover the black binding because I liked the look of it. I cut the strip of paper a tad longer than the actual cover. I painted a thin layer of mod podge on both the notebook cover and the back of the paper. I then “wrapped” the cover, folding over the extra. I didn’t glue the inside of the front cover, I let the glue that was already on the paper do its thing.

I pressed really hard on the paper to get all the air bubbles out, then I set it to dry for a few hours. After it was completely dry I glued a piece of card stock on the inside of the front cover to cover up the edges of the paper. Does that make sense? I hope so because I forgot to take a photo of that part.
Once it was completely dry (don’t rush the drying stage, be patient) I added a cute Martha Stewart label (found at Staples, they’re my favorite, she knows nothing about me I just like her products) and drew the letter “L” to personalize my notebook.
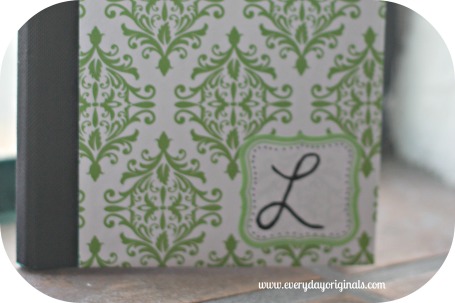
I was happy with the way it turned out and since I always have a notebook in my bag with me this will be great once the one I’m using is through. Like I said, a bit time-consuming, but a cute way to personalize an inexpensive notebook. The notebook itself was $1.98 and I had all the other supplies. If you needed to buy all the supplies it would be a bit more. Not bad though!
Christmas tree shopping was a challenge for us this year. Now that we’re in Colorado (where so many trees are grown and sent all over the country) I felt like we needed to get a real one. But, they’re big and pricey. And we live in a small place and have a small budget.
Enter my dear co-worker who just happened to have a few trees lying around! What are the odds? She offered to let us borrow one, a cute 4.5 foot one that was perfect for our space.
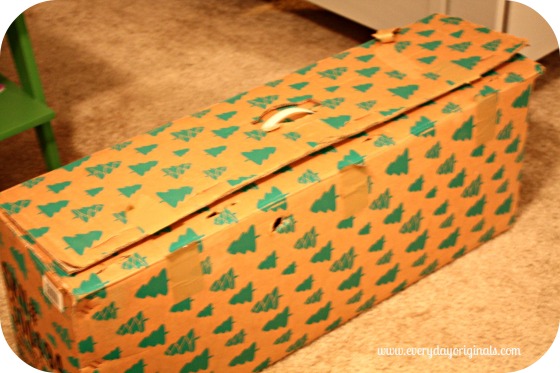
I’m not going to lie, I secretly love it. It was so easy to put together, no giant mess, the needles aren’t constantly falling off in our 200 degree apartment (we can’t control the heat…) and I can’t help but think about the simple removal and clean up process after the holidays.
I do miss the amazing smell of the real tree, but that’s what Yankee Candle and wreaths are for, right?
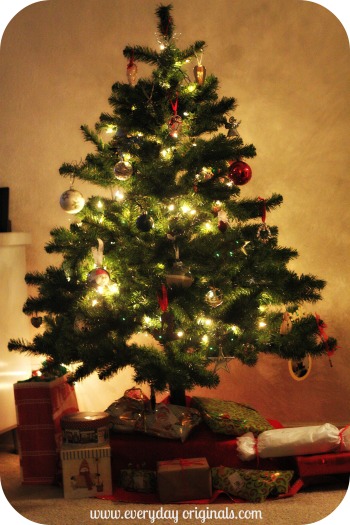
To give the tree a little height we stood it on a small plastic bin and decorated it simply with white lights and our ornaments. We’re missing a tree topper because it broke in half when we moved.
In true spirit, here’s the last photo with my favorite tree topper. For a cardboard, 97 cent hand-made tree topper, I think 4 years of use would qualify as getting our money’s worth.

I didn’t bother replacing it. I like the simplicity of the tree the way it is. How about you guys, any cute Christmas tree themes this year?
This year we’re all about budget friendly giving and homemade gifts. We’ve been hit with some pretty hefty medical bills lately so other spending has taken a back seat. Isn’t it amazing how all the bills come in right before the holidays? UGH!
Anyway, I’ve been thinking more creatively this year about gifts that could make someone smile but don’t break the bank and are easy to ship! I also love mason jars. Enter: gifts in jars.
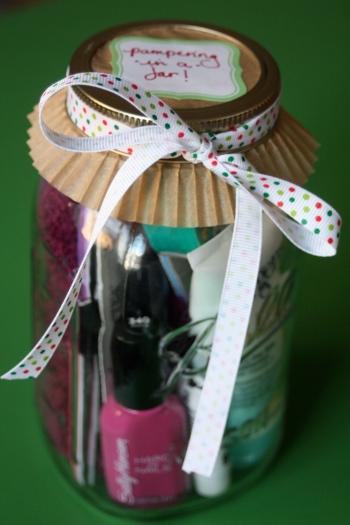
The first one I made, and I made a few of them, was pampering in a jar. It was super easy, total cost was about $6-7 each – I shopped sales and used coupons and also had some items in my stock pile already – and they’re small and easy to ship. Here’s what I included in the jar:
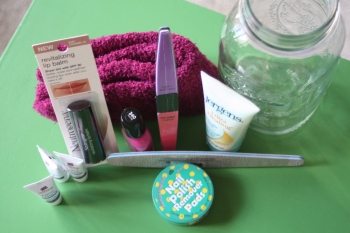
I had hand cream (2 kinds), lip balm, nail file and buffer, nail polish, polish remover and fuzzy socks.
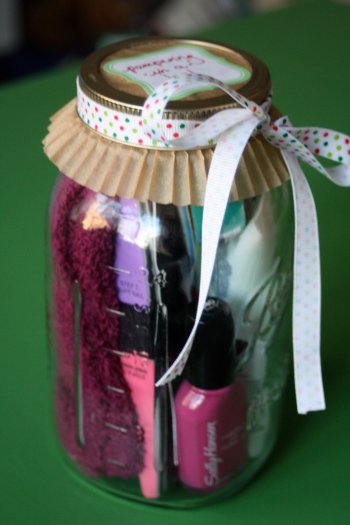
I shoved it all in the jar, literally shoved. It was a tight squeeze. I used a muffin tin liner to cover the top and tied it with a ribbon. Lastly, I put a small label on the top. That’s all and it’s ready to ship!
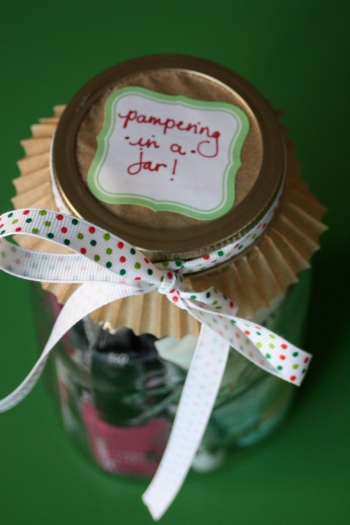
I’m not saying who’s getting one of these, but I hope it brightens their day when they get it. Just something small to say I’m thinking of you at the holidays.
The other jar I made was Energy in a Jar and it included beef jerky, protein bars, 5 hour energy, nuts and seeds. Not saying who that’s for either!
What are you guys making or gifting this year for small gifts?
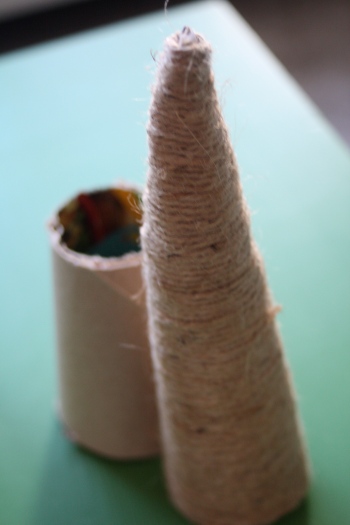
I always see those cone style Christmas trees. Mostly I’ve seen them wrapped in ribbon or twine, sometimes I’ve seen them with feathers and felt. I decided to make a few wrapped in twine and ribbon to add to our holiday decor.
I went to purchase some of those craft cones at the craft store and boy were they pricey. I mean they weren’t breaking the bank but at $2.99 each I just couldn’t pay it for something that was cardboard.
One of mine I used a cereal box and rolled it into a cone and then trimmed it to the height I wanted. The other cone was the bottom part of our old tree topper. It had broken so I saved the cone part for this purpose. You’ll see above, there was a large hole in the top so I just cut small pieces of ribbon and glued those on first before wrapping the whole thing.

When rolling the cereal box one I tried to hot glue as I went. I’ll be honest, it kind of fell apart but when I wrapped it in twine it held the whole thing together. If I was to make these again I would buy a sheet of poster board to roll the cones. It’s a bit lighter than a cereal box.
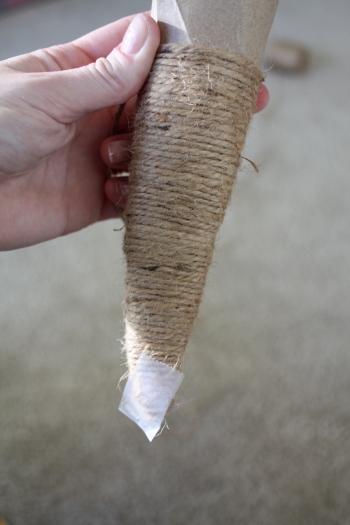
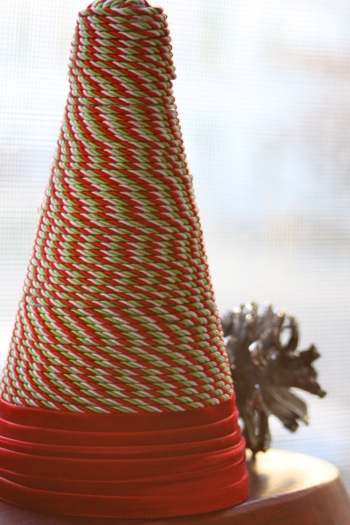
I started wrapping them both from the top. I put a dab of hot glue to get it started and then I added a small piece of scotch tape just to make sure it stayed in place. Then I just wrapped the whole thing. I hot glued the end of the string to the bottom to finish it off and removed the piece of tape from the top.
On the red and green one I ran out of ribbon so I finished off the bottom with a red velvet ribbon. I was surprised with how much I liked it. It adds a nice pop of solid color.
I was pretty pleased with the way they came out, especially for a nearly free project – the ribbon and twine cost me a few bucks and I’ll use them for other projects too.
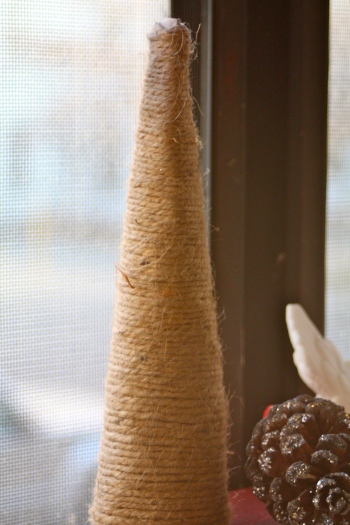
What are you guys making these days to decorate for the holidays? Once I get more decorations up I’ll show you the whole scene!
I’ve been seeing these adorable yarn wreaths on Pinterest for a while now. Follow me on Pinterest if you don’t already! I wanted something to hang on our door for the holidays but we’re living in an apartment building so we don’t really need a big huge wreath on the door.

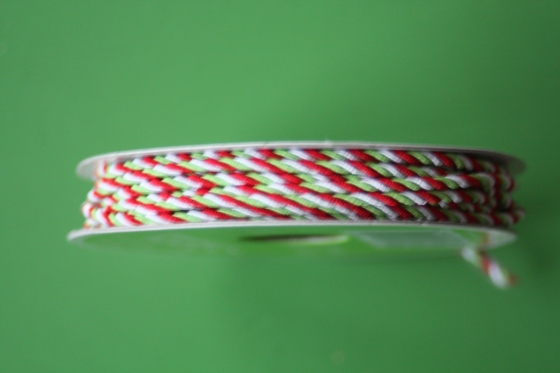
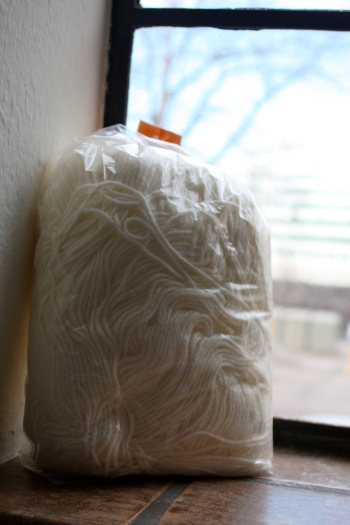
I found a wreath form thing (technical term there) at the thrift store. It was on sale and I had a coupon so I think I got it for a dollar. I also found a huge bag of yarn that I grabbed for $2. I already had other ribbon and twine.
I started by hot gluing one end of the yarn to the form. And then, very simply, but a little tediously, I wrapped the form in yarn.

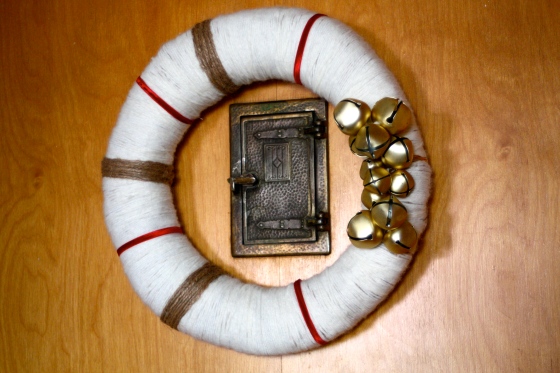
I had picked up this cluster of bells at the same thrift store for a buck or two. It’s meant to hang on a door knob, but I decided to take the whole thing apart and use the bells on my wreath.


I used more yarn to tie the bells onto the wreath and then cut the ends of the yarn very small so they weren’t hanging off. I made a random cluster of them with no real order. On the back of the wreath I hot glued a loop of ribbon too, so that it could hang. I reinforced with with a few pins as well.

Once I had the bells secure I started playing around with other ribbons and the twine. I liked the look of the twine with the red velvet ribbon against the white yarn. I wrapped some twine and the ribbon, hot gluing it as well, until I had a nice little wreath.

I decided to hang it on the inside of our door. I figured, I made it, I want to look at it!

Our door has this cute little secret door on it that opens up so you can see who’s at your door. I hung the wreath so that the little door can still open.
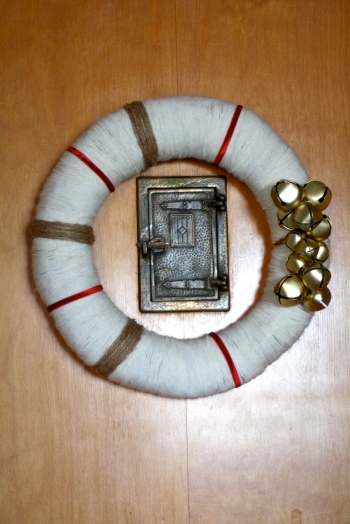
I really love the way it came out and I love the slight jingle of the bells whenever the door opens. It ended up costing me less than $5 and I have a TON of yarn left over for other projects.
Have you guys made any cute wreaths to kick off this holiday season or any other great holiday door decor?


