giving new life to clothing with dye!

I’ve shared my dyed jeans before (which I still get SO many compliments on) and I’m still loving the idea of dyeing clothes. Especially if it gives new life to items. My mom gave me this Land’s End jacket in the spring. I really love it and it’s been a great light jacket for Colorado. However, it was white and I took it backpacking this summer. It poured, I threw it in the truck and muddy dogs and gear were all over it. I just figured it would come clean and it didn’t.

stains

I washed it, stain treated it, oxy cleaned it and nothing would take out the stains. But it was still a perfectly fine jacket except for the stains. Not wanting to toss it I decided to try dyeing it. The worst that could happen was that it didn’t work and I had to toss it anyway.

I grabbed a box of black Rit Dye for two bucks or so. Following the instructions on the package I dyed my jacket. Some fabrics don’t hold the dye as well and this was one of those fabrics, so it turned out light grey. However, it stilled covered all the mud stains and looks like a perfectly fine jacket. You can’t even tell the stains were there. I’m just psyched to still be able to wear the jacket. I might try dyeing it again to see if I can get it a bit darker, but for now it’s fine. Enter awkward, touristy photo.

jacket

I have another great dye project up my sleeve that I can’t wait to try. Will share afterwards!

diy home state t-shirt

I had been seeing these home state tee shirts all over the place. Online, Pinterest, in stores, etc. I took one look and thought that there must be a way to DIY one. So I did. I decided to outline the steps below to make it easier to follow. It was actually quite simple, took a lot of focus, but overall was simple.

Supplies: cotton t-shirt (mine was one I already had, it was one of the vintage tees from Old Navy), fabric paint, small paintbrush, Ziploc bag, iron, ironing surface

1. Find an outline of the state you which to use. I forget how I found mine, I think I either googled it or used clip art.

2. Open the image in a word doc and using a text box add the word home using whatever font you’d like. I then printed mine in three different sizes to see which I liked best against the shirt.

3. Turn your iron to medium heat, no steam. Cut your Ziploc bag on both sides but do not cut the bottom of the bag. You should have a long rectangle once the sides are cut. On your ironing surface place the Ziploc bag down flat and place the state print out directly on top. If the plastic bag is larger than the print out I suggest trimming the sides of it so they’re both the same size. Otherwise you risk burning some of the bag to your iron and that’s a pain to clean.

iron

4. Gently iron over the paper, back and forth, until the plastic bag has melted entirely to the sheet of paper. Shouldn’t take more than a minute but he sure to never hold the iron in place. Ya know, kind of the same deal when you iron your clothes.

5. The sheet of paper should gently pull off of the ironing surface (I used a piece of scrap fabric because we don’t have an ironing board). Using very fine tip scissors or a razor blade, well, actually I should re-phrase. If your state is Massachusetts and there are nine thousand nooks and crannies to cut around you’ll want some fine tip scissors. If your home state happens to be Colorado cut away with anything, four nearly even sides is a piece of cake. Okay, back to the cutting. Gently cut out the inside of the state so that you end up with the outline of it. I didn’t cut out the Vineyard and Nantucket. Sorry if that offends anyone.

ironed on shirt

6. Once you’ve cut the inside out you can now cut out each of your letters. Once all are cut out select the placement on the t-shirt for where you’d like the state outline to be. With your iron still on medium heat iron over it so that it’ll adhere to the t-shirt. Do the same with the letters, one letter at a time. I found that there was more control over the placement of the letters when I did them one at a time.

paint

7. Paint! First be sure to put either a paper bag or piece of cardboard inside the shirt so the paint doesn’t run through. Using your fabric paint being to gently fill in the outline being careful around the edges as you don’t want the paint to bleed under the template. Around the edges of both the letters and the state outline I tried to only paint with the edge, not against it. Follow the instructions on the fabric paint bottle as far as dry time and additional coats. You can do as many coats as you’d like, mine ended up being three. I like that some of the red is still visible through the paint.

painted shirt

8. My fabric paint said to wait three days to wash it. I actually waited five because I didn’t have enough laundry to do on day three! It washes and dries just like any ordinary t-shirt.

final

I love the way it came out. This was one of those projects that I didn’t get too excited for because I wasn’t sure how hard it would be and if the results would be great or not. It’s a hit or miss project and in the end I was psyched about it! It’s my favorite weekend tee and I wear my home state proud!

simple diy monogrammed bag

I wanted to give my team mates at work a little something for the holidays. Nothing huge, just a small “hey thanks I appreciate all you’ve done for me” gift.

I decided to grab these adorable bags at TJ Maxx for them. But, I wanted to added something personalized to them.

blank bag

I cut out twine into their first initials and hot glued it to the bag. I did slide a piece of cardboard into the bag just in case the hot glue ran through. It didn’t, but better safe than sorry.

twine letter

After it dried I used cream-colored yarn and the largest sewing needle I had. I knotted the end of the yarn and simply hand sewed over the piece of twine. It was so simple.

final bags

I really loved the way they had turned out and wished I had made more of these for others!

final letters

It was an inexpensive, but meaningful and personalized gift. I’m happy to report that they both loved them!

july pinterest project: diy colored jeans

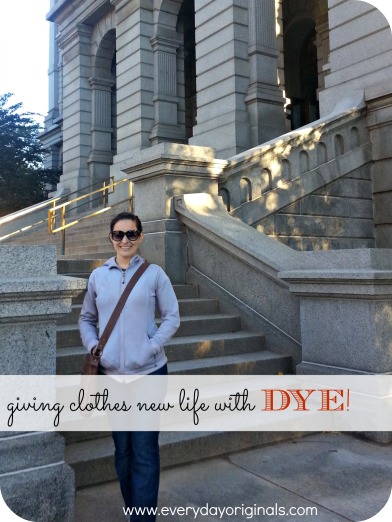
I know, I know, July Pinterest project is 17 days late. Better late than never though, right? Colored jeans are all the rage these days and there’s been a lot of pinning of DIY colored jeans so I decided to try it out.

I had one pair of jeans that I was thisclose to donating. They were about 5 years old and the knees were so worn out that they were white (the picture makes them look better than they actually did!). It’s just really hard to find good jeans that fit when your short. So, I decided not to thrown them out and to bleach them and dye them.

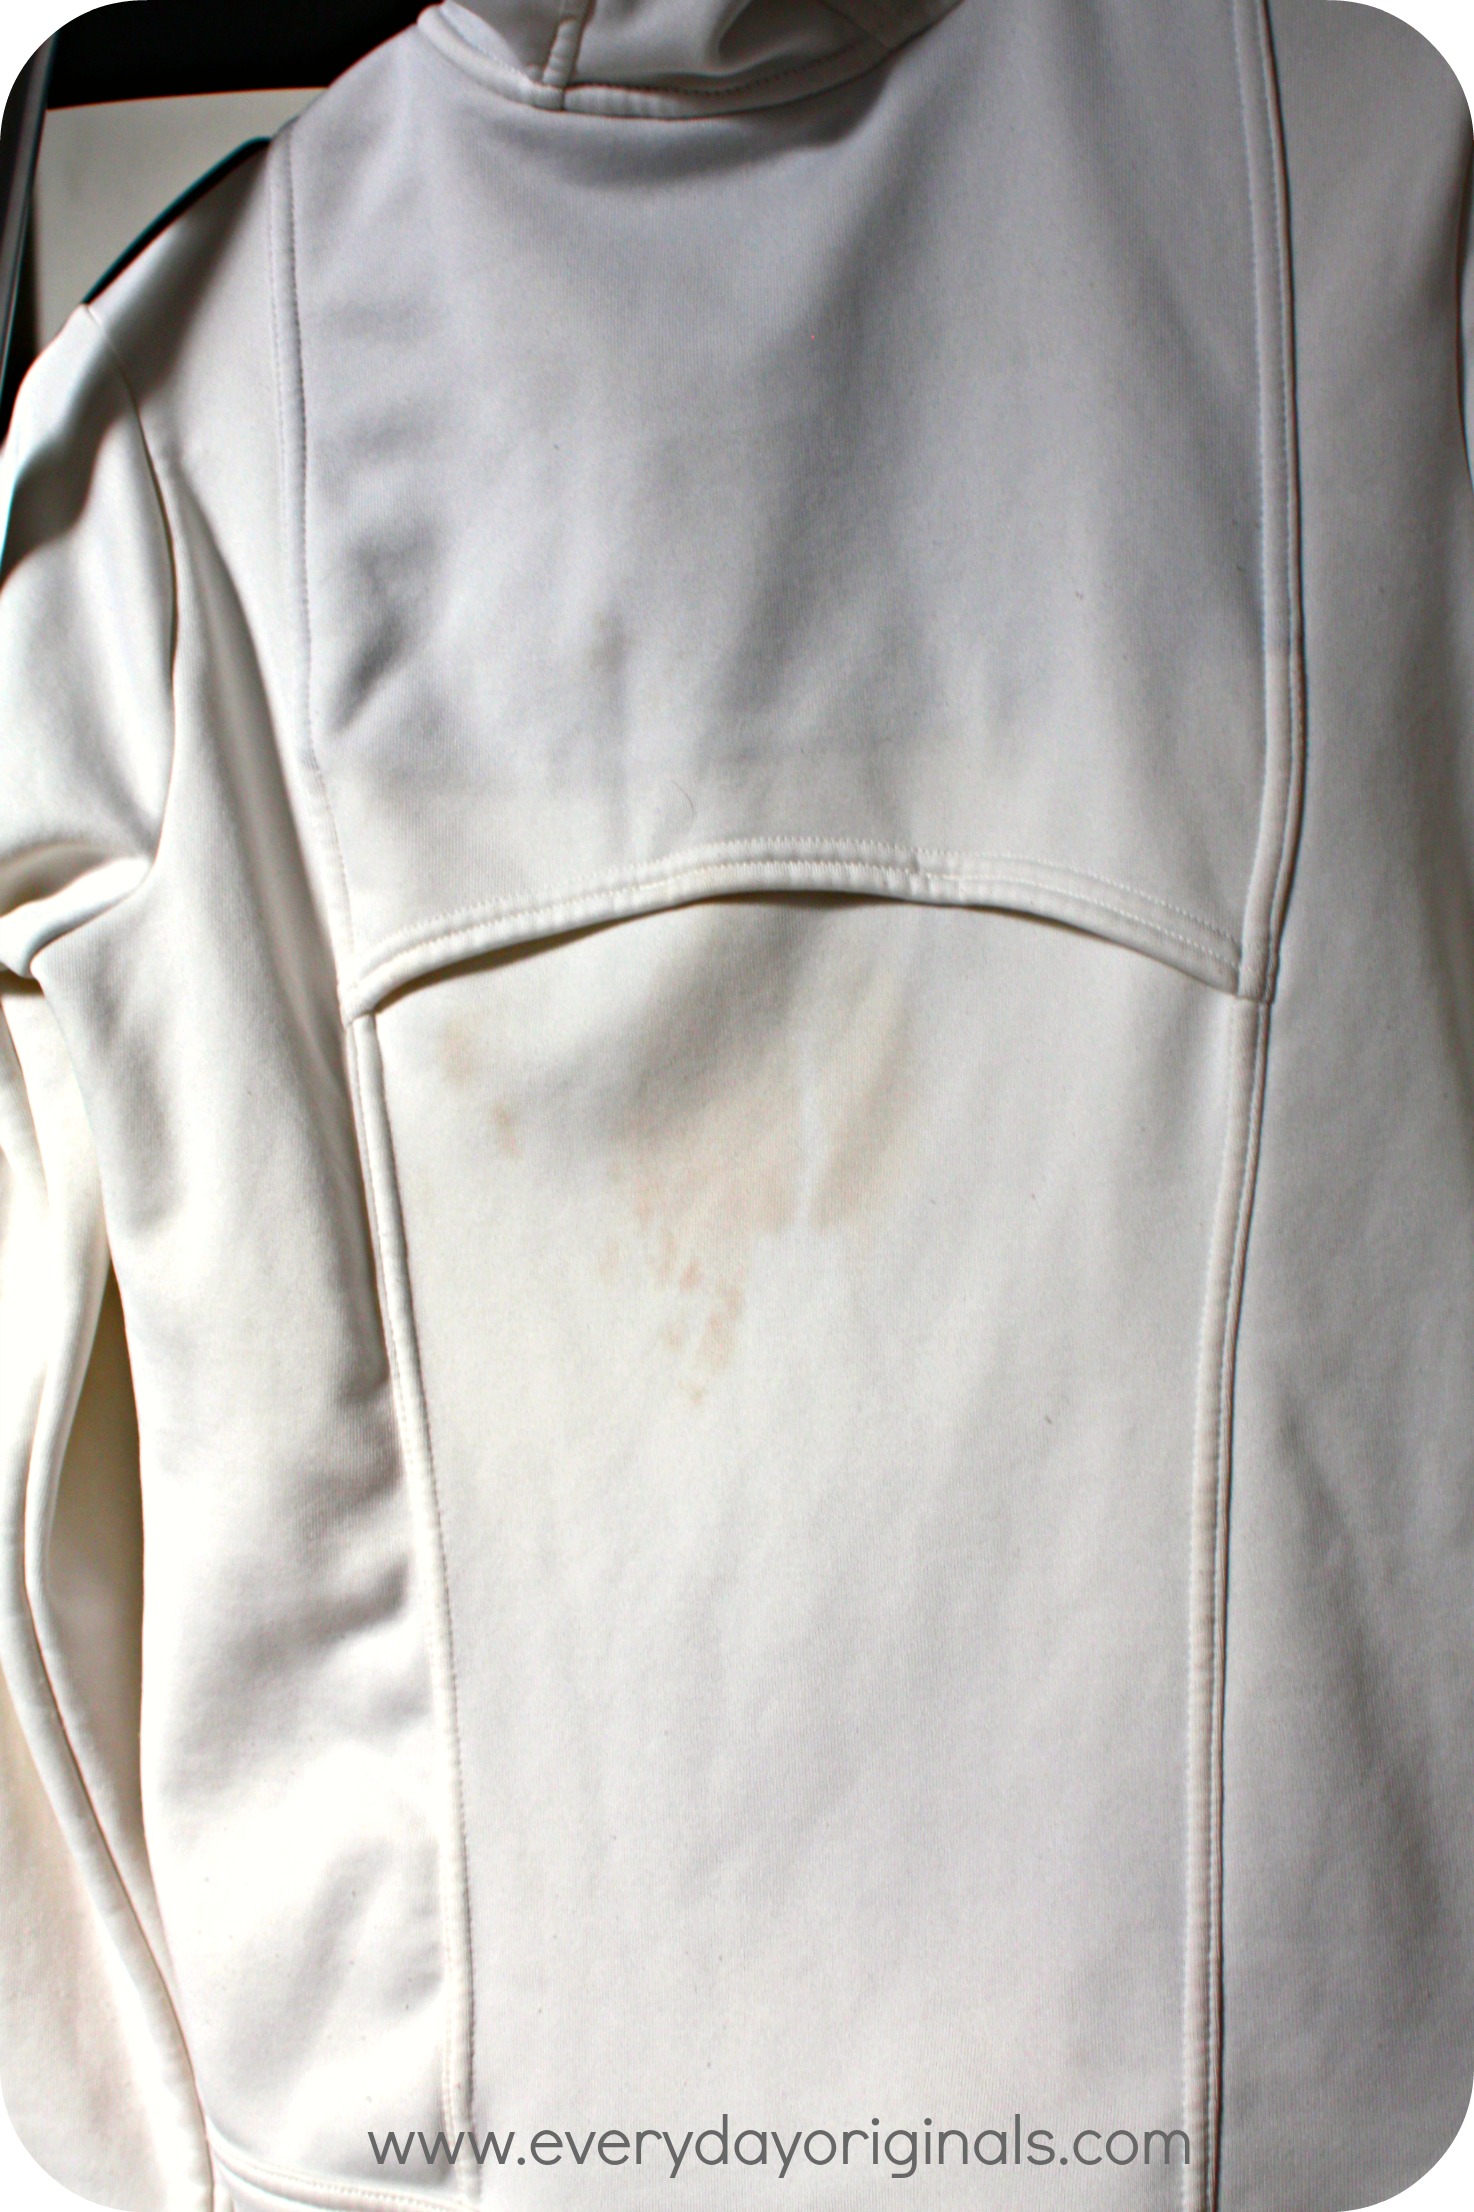
But, I also had found a perfectly fitting pair of white jeans at a thrift store that I was gonna try it out on too. That was a once in a lifetime experience, finding a perfect fitting pair of jeans at a thrift store. Does. Not. Happen.

I got to work. Now, I hate bleach. This was the first time I had ever used it and it will probably be my last. I simply bleached the jeans in a 3:1 ratio of water and bleach. I think mine was 12 cups water and 4 cups bleach. After two hours nothing happened. So I poured about 3 more cups of bleach into the bucket and instantly started seeing results. This part is totally a trial and error depending on the darkness of the pants you’re bleaching.

Occasionally I stirred the whole mixture with a wooden spoon that I threw away (don’t use your stirring utensil again, trash it!) once I was done. Just to make sure it was bleaching nice and even.

Now, from here is where I started with the white jeans, because those didn’t need to be bleached. I tried out a few different brands/types of dye.

First, I tried dying the purple jeans with powdered Tulip Dye in a bucket and letting them soak. It came out totally uneven though. So the second time around, I used iDye (a new product on the market) in the washing machine. This worked perfectly. It was SO easy and they came out perfectly even and vibrant.

The wine colored ones I used liquid Rit Dye in the washing machine. The color came out very well but the process was too tedious for me. You had to boil water, soak the dye, add salt, let it sit and strategically pour it into the detergent drawer. Also, the color looks nothing like the sample below, it came out more pink.

For all dye jobs I simply followed the instructions on the packages.

I attempted a teal color with the jeans I bleached. Well, after I bleached them I guess I was a little excited.

I didn’t inspect them and just went ahead and dyed them. Turns out, there were dark magenta marks all over the back of the jeans. As if I marker went through the wash with them. You couldn’t see them when the jeans were dark blue but they were totally noticeable in the teal color. So that’s when I re-dyed them the wine color.

The end result was a nice rich purple color and a kind of blah pinkish color. And, as you’ll see in the photo, the pink ones totally lost their elasticity and the button burnt right off of them from the bleach.

So, in the end I donated the pink pair. Maybe they’ll fit someone else who knows how to replace the button? The purple though, I love them!

Maybe if I luck out and find another pair of white jeans I’ll dye them the teal color!

Here was the cost break down:

Jeans: $0 (had them)

White Jeans: $7.99 (thrift store)

Bleach: $2.49

Total cost of 4 packs of dye: $9.56 (I used coupons)

Total = $20.04/ $10.02 per pair of jeans. But I only really got one pair out of it, 20 bucks though, still a bargain. And if I had to do it again I’m a pro now so I wouldn’t bust through four packs of dye!

Good luck if you try it out. The best part (obviously) was the outcome, a little tedious playing the waiting game. I’ve never watched the washing machine so much in my life before!

an organized refrigerator

Our refrigerator was literally owning us. And with all the spring cleaning going on in our house I figured it was time to tackle this beast. Problem is, there are no produce drawers and the one drawer at the bottom is pretty useless because it’s big and broken and cracked and annoying to operate.

In efforts to fix the problem I pulled every single item out. Well, except the condiments.

I had some baskets in there but they had slanted sides, so they didn’t really fit much of anything and they didn’t fit nicely on the fridge shelves. The Container Store was having one of their big sales so I decided to splurge and pick up some of these amazing, easy to manage, baskets. And by splurge I mean spend $11 instead of the $19 it would have cost me full price. Hey, what can I say, I love me a bargain. I had a coupon too.

We now have a basket for cheeses, one for fruit, meat and one for veggies. They all fit perfectly side by side and it’s so easy to pull them out when we need something. It’s also much easier to clean if there’s a spill because it stays contained in the basket versus spewing all over my fridge. Which has happened before.

The freezer, well, that still needs some help. It’s just soooo small! We freeze a lot of foods. We eat mostly frozen fruits and veggies, though more often than not we buy (or pick!) fresh and then freeze them.

Due to the food restrictions I have it’s hard for Al to eat an entire butternut squash or bag of spinach alone before it perishes. So we freeze things in individual portions. I also make a lot of purees for myself which need to be frozen. Majority of the freezer is produce, with a little meat/fish and a few other things.

I try to keep like items together, but it doesn’t always work that way. And yes, that is a shoe box in my freezer. I was short one bin and really needed something to corral fruit to simplify the smoothie making mornings.

I’m just really happy I went out and got the bins for the fridge. Makes a huge difference, we can find things, it’s organized and, well, it looks a tad prettier too!

flip-flops, heels and ballet flats

I read this article in Prevention magazine that was so intriguing to me I wanted to share it. Of course I’m extreme and went ahead and scanned every page of the article so I could show you the real thing.

You can also read it on their website, but I like the layout in the print version better and I don’t like the title of it on their website. Anyway, I knew flip-flops, heels and ballet flats aren’t the best shoes in the world for bones, joints, muscles and so on.

This article fascinated me the way it went so much deeper into why they’re bad, how they hurt you and what you can do to help your body. Like toe exercises! Maybe you’ll learn something, especially as we approach spring with cute sandals and flats…

Prevention magazine has no clue who I am, I just really liked the article…!

best online coupon codes: couponchief.com

It’s no secret that I love to save money on every purchase I make. So I was through the roof when the nice people at CouponChief.com reached out to me to review their site.

I love adding new and great resources to my lineup of couponing sites. This site was different from the others that I typically use though. I’m usually on the hunt for grocery and household product printable coupons. At Coupon Chief, they focus on coupon codes for online shopping, and some store specific printable ones too.

When I shop online I usually frantically Google around for a coupon code right before I check out… sound familiar to you? Sometimes I win, most times I lose. On Coupon Chief all the work is done for you. They’ve gathered tens of thousands of coupon codes to pretty much every store you could think of.

It’s so easy. I click on their site, search for the store to which I need a coupon code, and the site populates all current codes. I found coupons for 35% off at Banana Republic, 15% off at Gap, coupon codes for toys at Target, free gifts with purchase at Sephora, L.L. Bean coupons, Best Buy and so on.

Aside from all the store coupons, the other thing that stood out to me was the easy access to airline, rental car and other travel related coupon codes. There were lots that seemed to populate.

You do always have to keep in mind though, there might be a coupon for the store you’re looking for but not the product. As I said above, Target populated lots of coupon codes, but for nothing that was helpful to me.

That doesn’t mean I’ll stop searching though. I’ll now check Coupon Chief first, instead of frantically Googling around for a code. They’ve saved me time, energy, stress and hopefully money!

I did receive compensation to review couponchief.com. Though, as always, all opinions, statements and thoughts are my own. I only recommend things with you guys that are truly helpful to me!

pinterest project: diy infinity scarf

Are you guys on Pinterest? I know some of you are because we follow each other. Quick recap for those who don’t know about it – it’s a massive online bulletin board where each user has their own pin boards. Anything you see or find on the web can be “pinned” to your board. There are bajillions of ideas and inspiration for pretty much everything on Pinterest. You can find recipes, crafts, workouts, fashion, etc., etc. I’m a little obsessed to say the least.

I thought I’d jump on the blog bandwagon of starting to implement my pins. Lots of others in the blogosphere have been posting about things they’ve made, inspired by Pinterest. So, here’s my first one.

The simplest DIY infinity scarf ever. Basically you take any scarf you already have that has tassels on the ends. If you don’t have one already, scarves are on super sale pretty much everywhere this time of year.

Fold the scarf in half so that the tassels on both ends line up perfectly. I did this on a long table so that I could make sure they were lined up correctly.

Then go ahead and tie the tassels together that match up with each other. I tied them in double knots. You’d probably be fine with one knot, but I’m this crazy, must have double knots always, type of person. Al teases me because I still double knot my sneakers. Like a kindergartener, who doesn’t want her shoes to come untied at school because she doesn’t know how to re-tie them. Yes, that’s me. Anyway, back to the scarf.

Once you have all of the tassels tied together you should have one large circle of a scarf.

Go ahead and cut the long tassels very close to the knots. Not so close that they come undone though.

When you put it around your neck put the knots in the back; they’ll be covered when you wrap it around. Wrap it around once or twice depending on how long it is. I hung mine on my neck and then twisted it a few times before looping it over my head again. It helped it to stay a little tighter.

Voila! An easy, inexpensive infinity scarf! Are you guys making any Pinterest projects these days??

money saving helpers: beauty and style

The topic of this post is a little different than my usual but I thought it would be fun to share something different…and I also need help and recommendations with two beauty items. So keep reading for some tips and check out the bottom to recommend me some great products!

  • Use an old toothbrush with a little dish soap to clean flip flops. It’s amazing how clean they come but be sure to store the toothbrush in a clearly marked container or bag so there’s no confusion! (Gross if there was confusion)
  • Your hairdryer will last longer if you de-lint it. Using a dry toothbrush or small vacuum, clean out any lint from the screen on the back of the dryer.
  • After showering turn off the water, rub baby oil on your skin and pat your skin dry. Your skin will be SO soft and it’s a quick way to smooth skin when you’re in a rush and have no time for lotion. It’s also much cheaper than lotions.
  • Purchase a pump top for shampoo and conditioner bottles, it will most likely result in using less of the product each time!
  • Remove pills from a sweater by running over them with an electric razor or a pumice stone.
  • I’m sure you already know the clear nail polish trick for pantyhose runs, but also try spraying the toes with hairspray. It may prevent runs in the first place.
  • Dish soap works great as a jewelry cleaner instead of pricey cleaners you buy in stores.

Hope these help you out a bit! If you have any others please do share with everyone in the comments section. NOW, helppppp me! I need two great recommendation. I’m in the market for a new razor. I’ve used various Venus ones for probably the past 10 years and I’m wondering if anyone has any other great suggestions. I’m bored with the old Venus and need to change it up a bit!

AND…

Makeup brushes are my nemesis. Every time I get new makeup brushes they shed all over me. So I’m now ready to spend as much money as I possibly need to for good makeup brushes. I’m currently using MAC and Bare Essentuals ones and I’m not impressed. So helpppppp here, too please! Ladies, send me some suggestions, I need it!