diy faux drawers

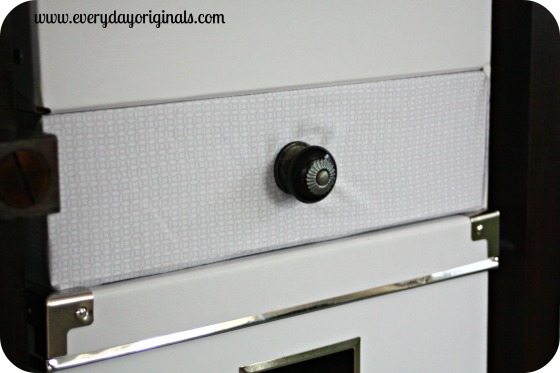
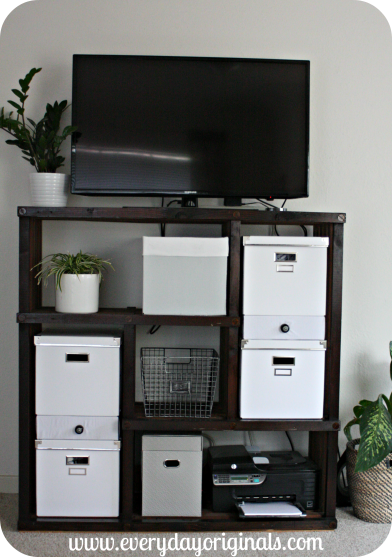
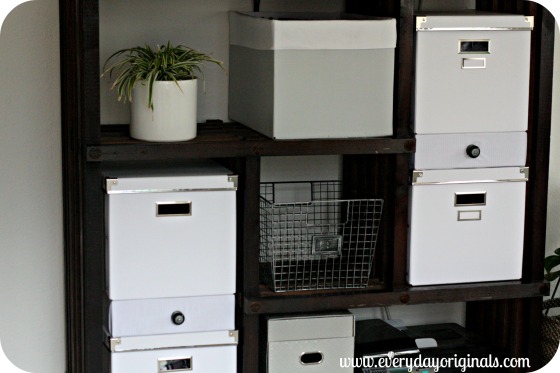
We bought some of these storage boxes at Ikea for a bargain price in the As Is section. We got the two pack for $3.99. After they fit perfectly in the intended space we purchased another pack at the full price of $9.99. But still, $3.50 per box is a great price for large, sturdy storage boxes! When stacked on top of each other though, I felt they looked a little boring; so I decided to create what looks like a drawer that separates them. This was probably one of the easiest projects I’ve ever done.

fake drawer 1

I used two priority mail boxes that I had. Yes, I felt guilty since the post office is hurting, but I had the boxes and never used them (I think what I was planning to ship in them didn’t fit) so instead of recycle them I re-purposed them. I know I could have brought them back to the post office but I didn’t. Okay, confession made, moving on.

fake drawer

I started by slicing a hole in the cardboard in the spot I planned on adding the knob to. I then used fabric I already had, as well as drawer pulls that were in my stash. It was as simple as wrapping the boxes in the fabric, just like you would wrap a present. However, when I wrapped the box I left the far end unwrapped so that I could add the knob. Using scissors I slit a small hole through the fabric in the same spot where I made the hole in the cardboard. I secured the drawer pull onto the box and then continued wrapping the back-end of the box.

fake drawers 2

That was it, done! I placed the fake drawer between the two storage boxes and I love the way it looks. It adds a little dimension, a nice subtle pattern and makes the whole space look a tad more visually appealing. The fabric is even the perfect coloring to go with the storage boxes I made for free. Now, I totally get that they don’t actually look like a drawer, but I like the idea of it and the way they come out.

Nothing like completing a great, simple, free project! Next up is getting control over those wires and cords. For the love isn’t it time everything be wireless now?

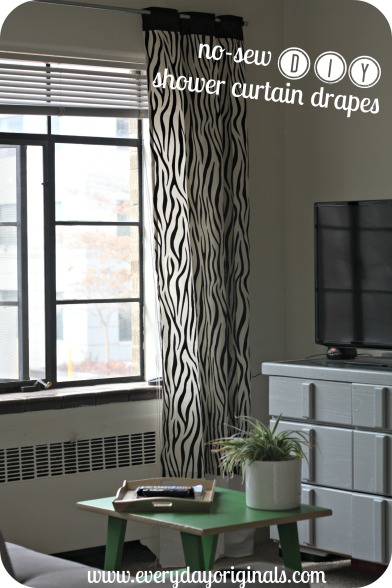
no-sew diy shower curtain drapes

I’d like to think that I would have a long post about these DIY curtains. But, in reality, they were so simple you could probably make them with your eyes closed. Okay, well don’t try that because there is an iron involved.

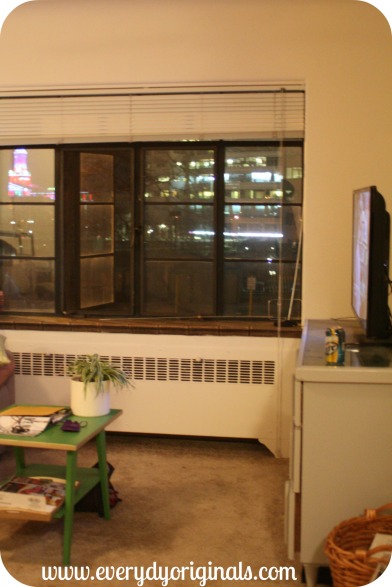
Now, I completely understand that animal print is not everyone’s cup of tea. But I always have, and continue to, love a little pop of it here and there. When I found these two shower curtains for a steal at TJ Maxx, one for $7 and one for $10, I knew they would be prefect for our large living room windows. And if you’re wondering why the exact same shower curtains were different prices, I have no idea. But I will tell you that I obviously argued with them and the $7 one was actually $12 to start. When they were running the sku’s they realized it should be on clearance. So that was a lovely surprise. Anyway, back to the curtains.

window

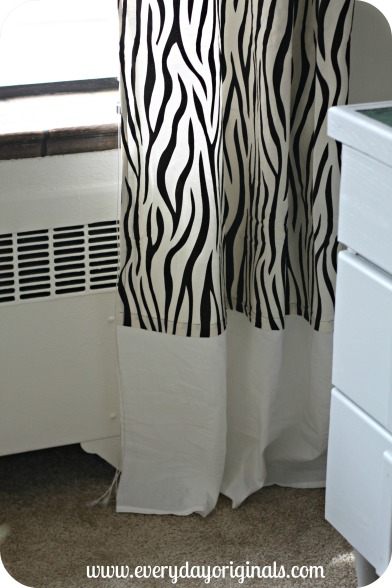
They were too short for the windows but I had some leftover white fabric so I knew exactly how I would lengthen them. I started by folding each shower curtain in half perfectly. I did this on the floor because I needed a space large enough. Once I folded them in half I then cut perfectly on the fold line. I eventually had four pieces.

hem tape

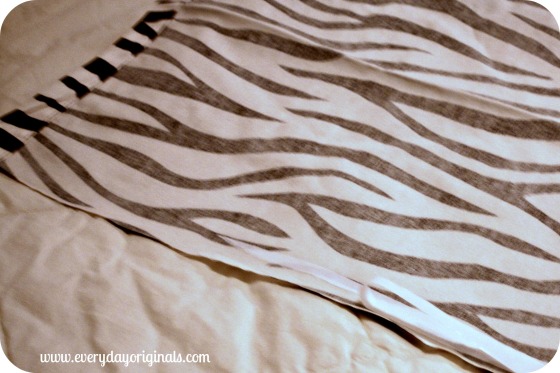
I measured the width of each piece and measured what the added length would be that I needed. With those measurements I cut out four additional pieces of fabric from the white scraps that I had. Using heat bond iron on tape I then ironed the white pieces to the main pieces. Since each panel had a cut side, where I cut the full curtain in half, I didn’t want it to fray. So using another strip of heat bond tape I made a fold on the edge to create a hem.

extended length

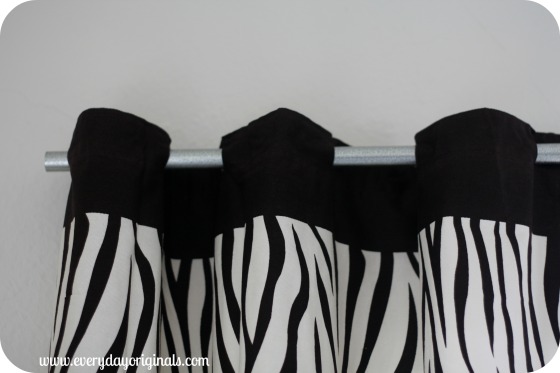
That was it! It was really easy and I actually loved making drapes out of shower curtains. It’s a heavier duty fabric so it was easier to work with and falls nicely. It also already had the holes to hang it so I didn’t need to make any or get those ring clips.

final shower curtain drapes

We hung them from our DIY curtain rods and I love the way they look. Nothing is complete yet, is anything ever complete?! We still have to paint the rods and add finials. Once it warms up more we can get outside and spray those. What color would you guys paint the rods? I can’t decide and it’s driving me nuts.
loops

Since I already had the white fabric the final cost of each was $4.25, plus some tax. Not bad for four drapes! We love the way they pulled the room together, especially since it’s such an open space. Okay so in the end I guess I did have a lot to say. Either way, they were so easy and inexpensive to make, so the next time you’re on the hunt for drapes, don’t skip the shower curtains, you never know what you might find!

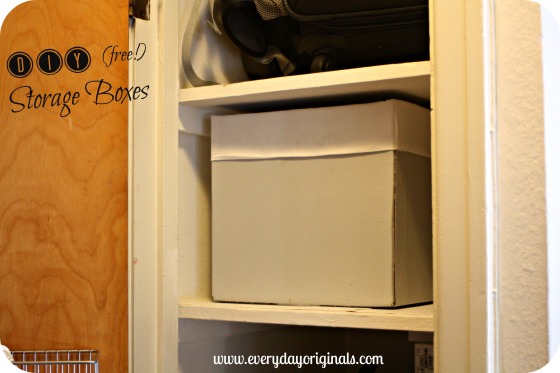
diy (free!) storage boxes

A while back we had some boxes lying around waiting to be recycled. They were all different sizes, large ones, narrow ones and even a few beer boxes. I decided to give a few of them a makeover and create some free storage boxes. This project was entirely free for me as I already had some paint and fabric scraps. However, if you don’t have those items it’ll only cost a few dollars and you could always get away without adding the fabric.

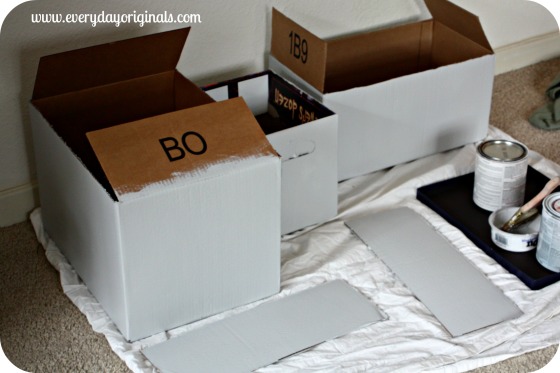
I started by mixing a blackish grey and white paint together that we had. It produced a light grey/bluish color. I painted two coats on all sides of the boxes. They dry pretty quickly but I let them really dry and set for about 8 hours.

painted boxes

I then cut off the flaps on the top of the box. Now, this is the part I kind of made up as I went. I used some scrap fabric I had to create what looks like a liner in the box. However, I only wrapped it around the top part, I didn’t actually line the whole box. I measured and cut the correct amount of fabric, leaving excess to fold into the box. Using my iron I ironed a half-inch seam so that the fabric wouldn’t be uneven and fray

Then, using my hot glue gun, I glued the fabric onto the box. I glued one edge then tightly wrapped the rest around the perimeter. Then I folded the extra into the box and glued it there.  Does that make sense?! I forgot to take pictures of the process, probably because I’m the messiest painter ever and there was paint and hot glue strings everywhere. It was really easy, just make it up as you go, no one will know.

final box

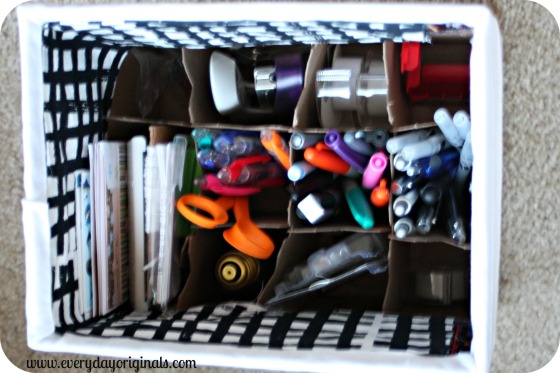
In the end I had some nice, sturdy, free storage boxes. I even left the bottle dividers in one of the beer boxes and used it to separate and organize office supplies. In that one I used some other scrap fabric (the black and white) and glued it to the inside since it was smaller and you could actually see the inside.

box inside

Free. I love me some good free projects. Some of the sizes fit perfectly in our linen closet, others work well on the book cases. How about you guys? Any free projects you’ve been making using what you have around the house?

getting the most out of Etsy

I love Etsy. If you’ve never heard of it, it’s an online shop of all things handmade and vintage. I love supporting all artists and, well, it’s no surprise that I love handmade things. I try to do a lot of my shopping on Etsy for both our home and also as gifts for others. Over the years of shopping on Etsy I’ve learned a few different ways to shop, search and buy, all while getting the most for my money.

My aunt gave me a $25 gift card to Etsy for Christmas and I knew I wanted to get the most out of it. I followed the steps below to make sure I found what I needed/wanted.

etsy

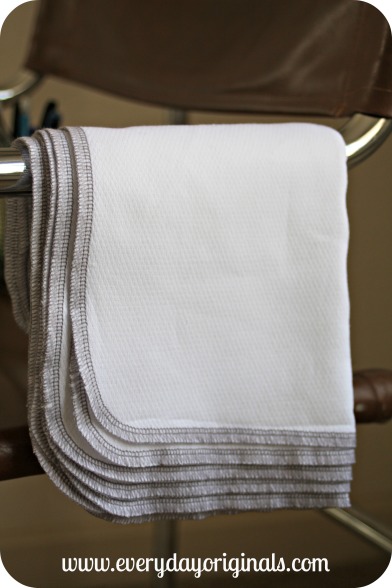
1. Type the word SALE before your search item. I was looking for reusable paper towels so I searched for ‘SALE Reusable Paper Towels.’ It limits the options that populate but it also makes it a lot easier to navigate through. All the items that came up were on sale for a few dollars off the regular price.

makeup bag

2. Search by price point. You have the option to search based on price. I always add price points because it eliminates all items that I’m not willing to spend on. It limits the results again and makes it easier to navigate through.

3. Look for free/combined shipping. Many sellers post if they offer free shipping or if they offer shipping discounts for purchasing more than one item from their specific store. I also will search FREE SHIPPING in the search bar followed by the item I’m looking for. This will populate items with free shipping.

paper towels

4. Search by location to save on shipping. When I’m shopping I’ll search by my zip code first. It’s going to cost a whole heck of a lot less to ship something within Denver than from the East Coast.

5. Use the left hand side bar. There are so many different ways to search and organize your search. I recommend utilizing them. I’d rather have 200 items to scroll through based on my wants/needs rather than 5,000 when majority of them aren’t what I want.

headband

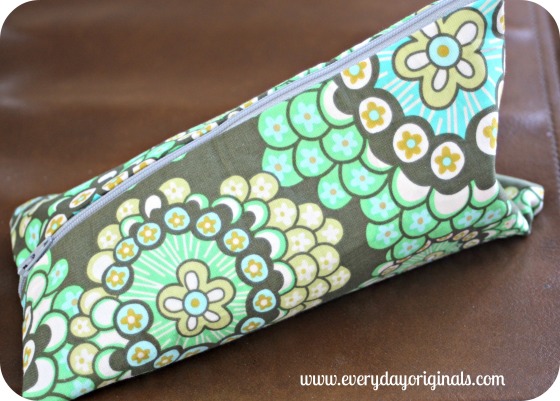
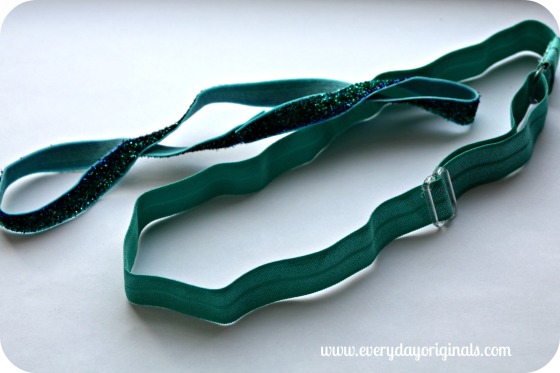
So in the end with my $25 gift card I purchased: a set of 6 reusable paper towels, a workout head band and a makeup bag. The headband seller also sent along a free kids headband too so I sent that to the little girl I used to nanny for. I was able to get all three items using the above tips. For $25 I think I did pretty good!

What tips/advice do you have for shopping on Etsy?

simple, inexpensive, diy curtain rods

Curtain rods can be absurdly expensive. Especially when you need 8 foot long ones. They have to be sturdy and durable otherwise they bow in the middle and don’t solidly hang up the curtains.

We have two huge windows in our living room, each about 8 feet wide, and the price of curtain rods that size was literally hurting me. So naturally, we made some. To do this we used the following supplies, with costs included:

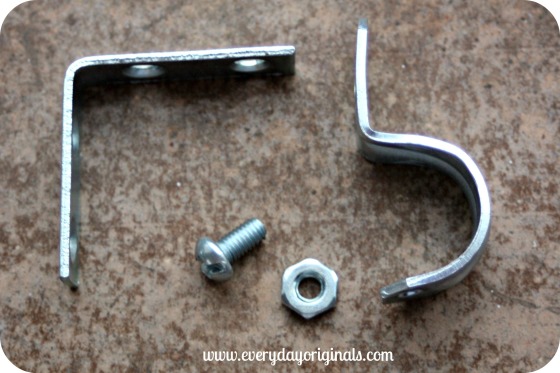
  • – L shaped brackets – $3 for a 4 pack
  • – 1/2″ one hole straps – $1.50 for a 4 pack
  • – nuts and bolts – $1.50
  • – 1/2″ electrical conduit – $3 each for a 10 foot piece

materials

To cut the conduit to size you’ll need a hacksaw. They’re inexpensive to buy but Al found that there’s a set up in the crown molding section that he was able to use. So we saved money but cutting them in Home Depot instead of buying a saw. He cut them to size and with our supplies we headed home.

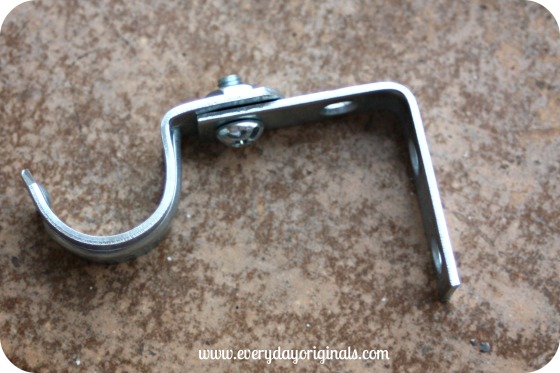
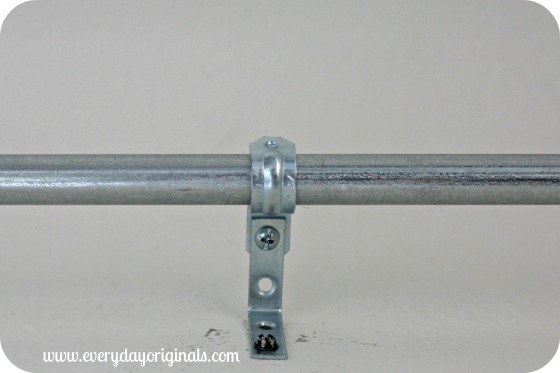
They were so easy to make. We simply used the nuts and bolts to secure the one hole straps with the L brackets. Once those were all together we were ready to hang.

bracket

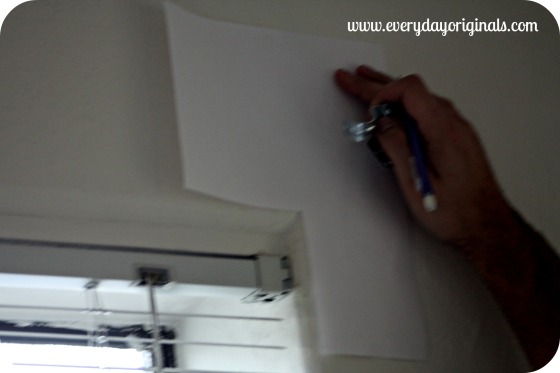
To make sure all the brackets were hung at the same height I cut the corner of a sheet of paper out. Each time Al hung one he held the paper to the corner of the window and knew exactly where to secure the bracket.

hanging brackets

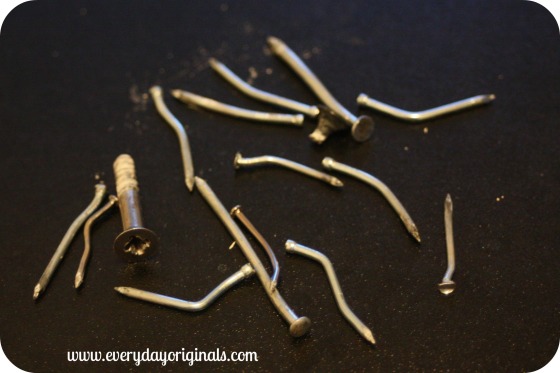
Once they were secured, which I’ll digress for a minute – Below is the picture of casualties from this project. Whatever material the external walls are made of in this building do not allow for things to be hung. Everything bounces back, breaks, bends and so on. It’s absurd. Hanging things on the internal walls is like butter though, one swipe of the hammer and it’s hung. It’s so strange.

casualties

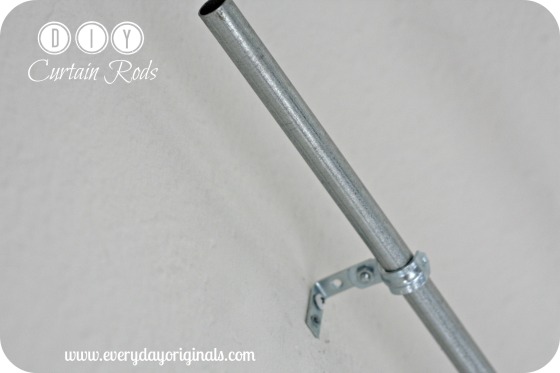
Anyway, this was quite a feat to get these hung, but we finally did. The conduit fits perfectly in the brackets. They’re not done yet, we still need to paint them and add finials to the ends, but I still haven’t decided what color to paint them and what finials I want.

final

The total cost for two eight foot rods with brackets was $12 plus some tax. So $6 each which like I said, for two huge rods is amazing. I’ll still need to add in the costs of the finials and spray paint but I still don’t anticipate each rod to end up being more than $10-12 each. The rods I was pricing out were $40-50 each (which was at discount stores like TJ Maxx and Ross) so I am totally pleased with this.

bracket hung

I’ll share the final look of them once I decide on paint color and finials! How do you guys hang curtains? I’ve said in the past how I hate drapes but with these humongous windows I have no choice!

diy wrapped storage boxes

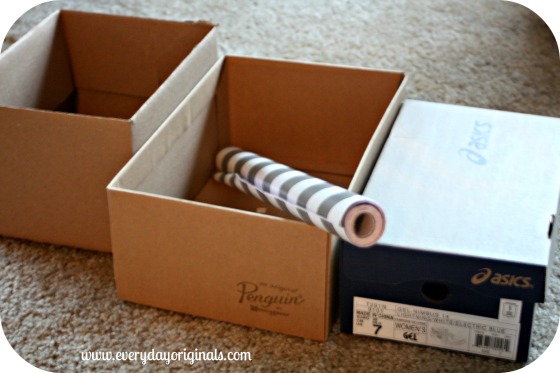
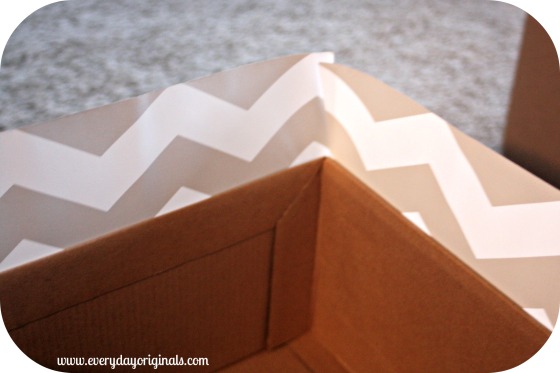
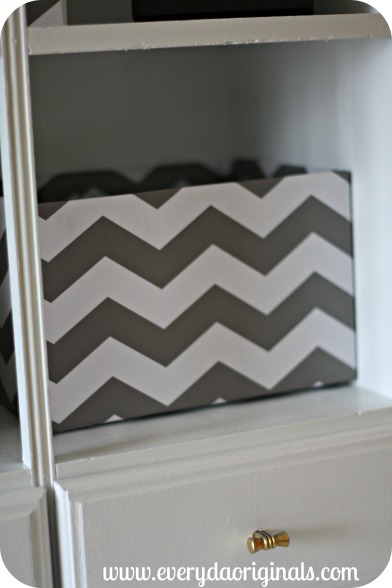
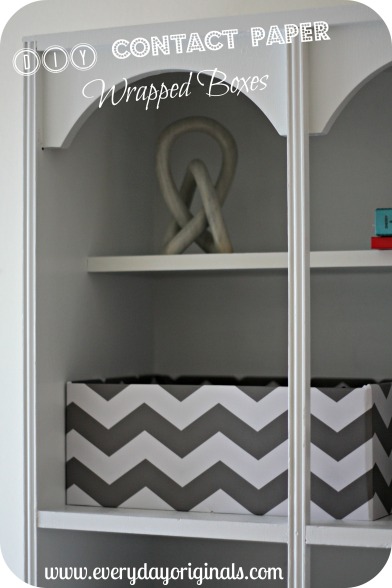
This project was so easy and was incredibly close to free. Win, win. We needed some storage bins for our bedroom furniture and as much as I would have liked to buy all new, matching baskets or wire bins it wasn’t in the budget. So I decided to use some boxes that I already had and picked up some contact paper at TJ Maxx. The boxes were free and the contact paper was $5.99 for a pack of two rolls which I’ve used in about three other places in our apartment. I’d say I got my money’s worth!

supplies

I gathered up my boxes and paper and then I very simply just wrapped the boxes with the contact paper. Kind of like I did way back when I used wrapping paper to make some storage boxes. Often times I think people are intimidated by contact paper because of the whole stick factor and not wanting to mess up. But, it’s actually quite easy to peel of and readjust as needed.

wrapping

The contact paper I purchased had a graph on the back so it made it much easier to measure and wrap. However, if you find a cute pattern that doesn’t have the graph on the back it’s no biggie, because like I said this was super easy. If you know how to wrap a present you can wrap a few boxes.

wrapped

And even if you’re the worst present wrapper in the whole world you can still do this, I swear, because the contact paper will smooth right out. My favorite part about the whole project is how the chevron contact paper gives an added pop to boring storage.

final

You guys been up to any projects lately? Any great, inexpensive storage ideas?

february spending freeze: final days

Today is the last day of our spending freeze and I’m happy to report that we did incredibly well. You can read more about our month of no spending here, here, here and here. We had another great weekend finding free and outdoor things to do. We visited Red Rocks and climbed the huge amphitheater stairs, which was a total workout.

stairs

We visited Lookout Mountain where we stumbled upon a volunteer fair. So we decided to sign up to be trail inspectors in one of the local county’s. We’ll basically visit different trails throughout the spring and summer and report back if we find any maintenance that needs to happen. Simple tasks and a great excuse to get out and hike!

red rocks

And then there was that wedding show that we stumbled upon. You see, as we were driving up the mountains there were all these signs for free admission to one of the mansions. So we were like sweet, let’s check it out, it’s probably beautiful. It was beautiful and it was also a massive wedding expo with loads of caterers and photographers and florists. But once we were in it was hard to leave. It was so awkward and hilarious at the same time. Needless to say, the food was amazing and there was a cappuccino man mixing up delicious drinks.

wedding show

I had to fight with the entry way lady on our way out to NOT give me a bag full of goodies. It was so funny. The photo booth guy? He couldn’t believe that we wouldn’t want a photo booth. We finally had to tell him we were married already and didn’t need the damn photo booth.

Anyway, overall for the week we spent $23.12 at the pharmacy, which was unfortunate, but I needed some things for my broken stomach so it was a necessity.

sky line

Overall for the entire month we spent $41.40, on things aside from our normal monthly bills. This was amazing for us since we’re usually WAY over that number. We only bought what we absolutely needed. We’ve been out of tissues for 3 weeks, out of paper towels for a week, we’re using free samples of travel sized bars of soap that we had, we’ve bought no beer or wine and we did not eat out. And look at us, we’re still alive and thriving!

spending freeze

I want to think that it was hard, but really, it wasn’t. We meal planned so we bought exactly what we needed at the grocery store and we ate through our freezer and pantry. We found great things to do each weekend that were at no cost to us, and we’re going to continue to explore all the free things the city has to offer. And we’re both really excited for a spring and summer full of hiking, trails and being outdoors from our mini hikes over the past few weeks.

I think we may start to do this a few times a year. Brings you back to reality with what we really need versus want. And not only did we not spend all month which resulted in saving a lot of money, we also brought in some extra income by selling things we no longer needed on Craigslist and eBay and partaking in a local focus group.

Have you guys ever done a spending freeze? Think you might try it? I’ve found that even week-long spending freezes can be incredibly effective for the budget and the bank account. Good luck if you try it out!

february spending freeze: week two, weekend three recap

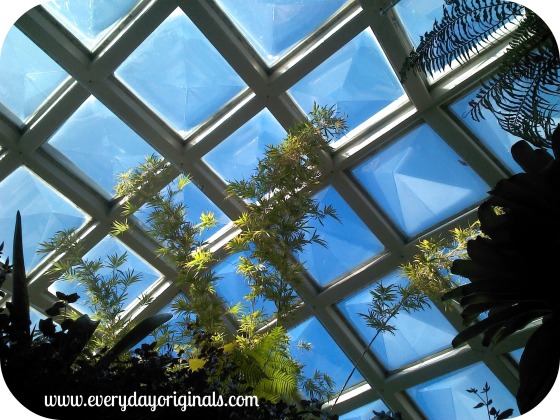
We had another great week and weekend of staying on track with our spending. This weekend we spent one day hanging out and didn’t do too much because neither of us were feeling great. Once we rallied we took advantage of the free day at the Denver Botanic Gardens.

roof

Their popular exhibit now was the orchids which were just beautiful.

orchid

The greenhouses were fun to walk through and being surrounded by greenery made me feel like it was spring, which was lovely.

water

The grounds are massive there so we walked around them, even though there were no plants or flowers since it’s the middle of February.

tree

We look forward to going back in the spring or summer once everything outside has bloomed.

gardens

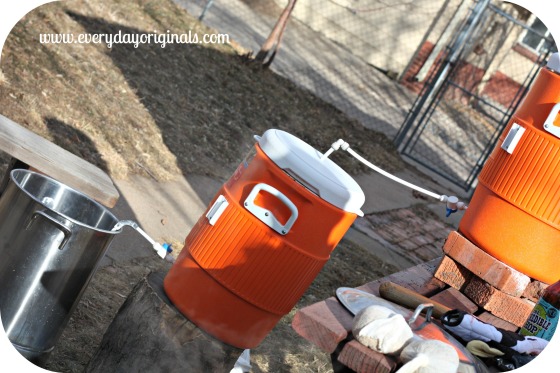
We headed to our friends’ house to hang out and the guys brewed some beer. I’ve never seen how home brewing works so it was fun to watch.

beer

Al received a home brewing kit as a gift for being in his friends’ wedding so he brewed that up.

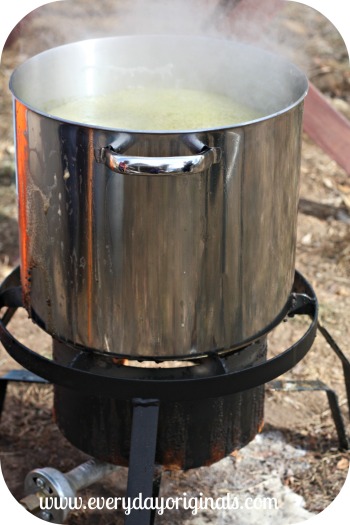
boiling beer

I’ll let you know how it turns out when it’s ready in five weeks!

beer trio

Overall for the week the only item not budgeted for was:

Al’s Colorado licence: $21

That’s all we spent for the week and it was a necessity so I think we’re still doing pretty well!

february spending freeze: week one, weekend two recap

So far so good on the spending freeze! We didn’t have nearly as exciting of a weekend as we did last weekend.

spending freeze

This weekend we got some projects done around the house (more to come), went for a walk downtown and just hung out and watched some movies. Always nice to have a chill weekend like that. So far this is what our spending looks like, aside from the items I already mentioned we’d be spending on that were budgeted for:

Contact Solution: $18.28 (which kind of killed me because this would have been $0 out-of-pocket but I had the flex spending card on me and Al was completely out so had to buy some. It was a two pack though, so that made me feel better and the tax in CO is outrageous).

Eye Doctor: $20 co-pay

That’s it though. That’s the only spending done in 11 days so I’d say we’re doing pretty good. And I mean it’s not like we bought $38.28 of magazines and ice cream, though that would have been lovely, they were legit expenses. And if any of you know Al and his love of eyes, you’ll know that “you only get one pair so treat them right.” So, that’s our update.

What about you guys? Anything fun this weekend? Everyone in New England was totally snowed in, which I was jealous of for like an hour and then I got over it because I remembered how I hate snow. Lots of projects to come!

february spending freeze: weekend one

This past weekend was the first weekend of our spending freeze. It’s easy for us to realize that the weekends are going to be the trickiest part of this for us. During the week it’s rare if we go out so that’s not an issue.

I did a little research to see what was going on in the area and I learned that every weekend of every month there are free days at different places in and around the city. So we took advantage!

target sign

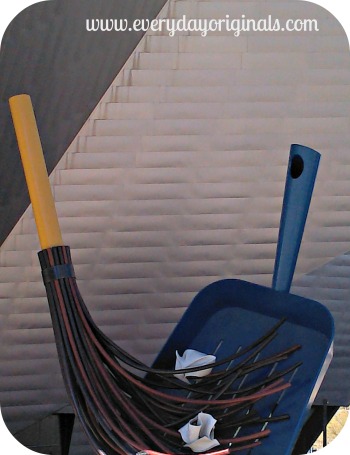
On Saturday we headed to the Denver Art Museum, free day sponsored by Target, where there were lots of great exhibits. Here are a few of our favorites that we saw:

dots

perception

broom

On Sunday we decided to take a half day trip up to Boulder, which was amazing. We explored the Flat Irons a bit, drove up the mountain and got excited for my foot to heal so we can start hiking again.

boulder museum

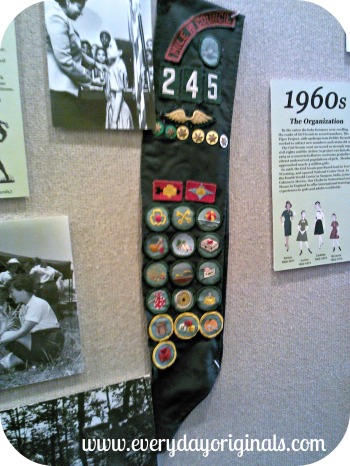
It was free day at the Boulder History Museum so we headed there for a bit. I’m a sucker for history museums so I was in my glory. And they had a great exhibit on Girl Scouts since this past year was their 100th anniversary. Al enjoyed the history of the buffalo that used to be in Colorado. They’ve all been killed off now. Amazing how our interests differ.

girl scouts

We had a great weekend though and it was fun finding things to do that didn’t cost money. And I’m actually pretty psyched to find out that there’s different things throughout the city each month that are free. It’s a great way for us to explore our new city!